Skeksis Chamberlain Puppet – The Head – Part 3
October 18, 2019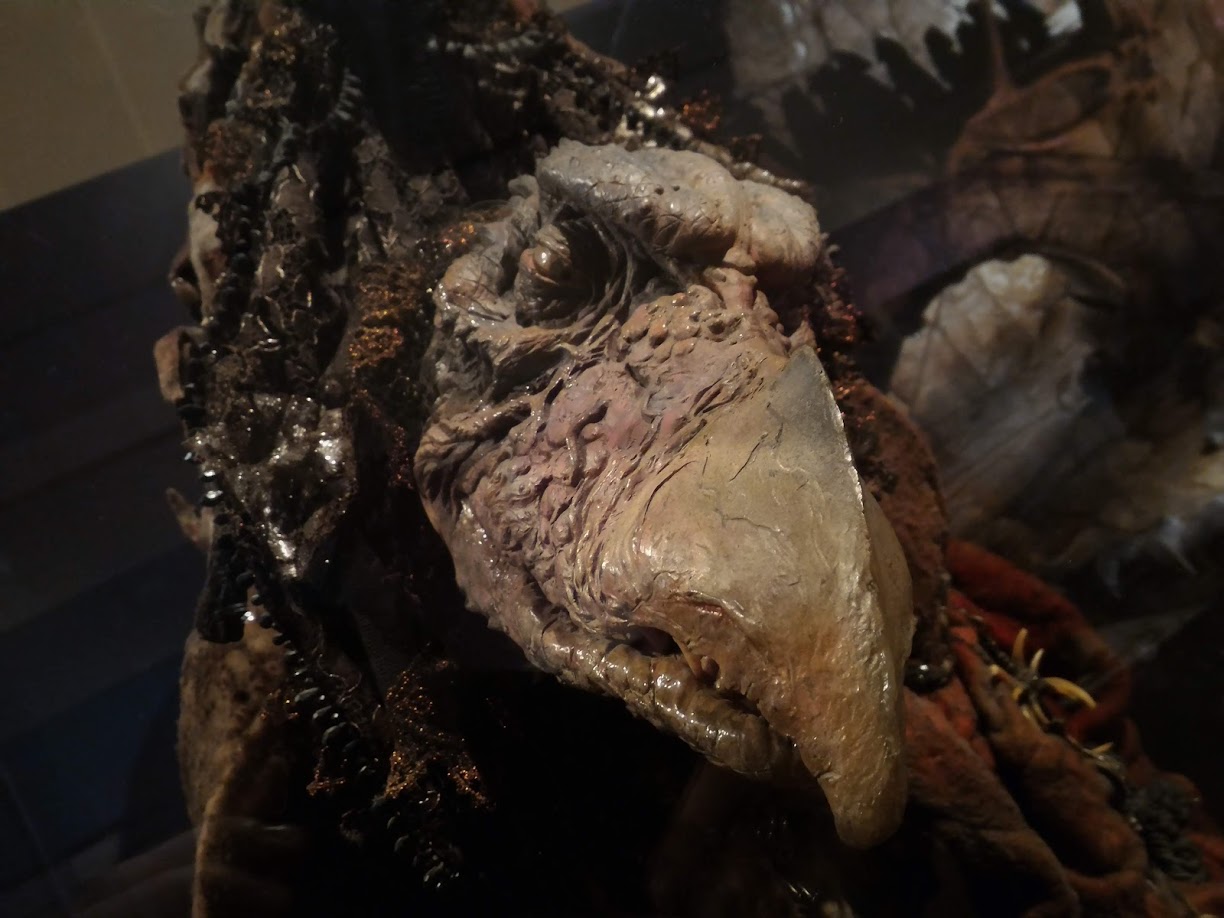
Finishing up
The eyes
Next step was the eyes. I already mentioned on the previous installments that while I like paiting, it's not my forte.
Reallistic eyes cost a mint and if you paint them and suck...well "The eyes are the mirror of the soul" If your eyes suck, they can bring your whole piece down with them
So I went the easy way. I went to my local printer and asked them to do a color laser print of a sheet of irises on the thinnest paper they had. The reason I want it on thin paper was because the eyes are round and the paper flat, so I had to wet them (hence the laser print, if you use inkjet it will smear) and wrap them into shape around the eye
A dab of glue, pushing them in and you are in business! At least it's way better than what I could have painted myself.
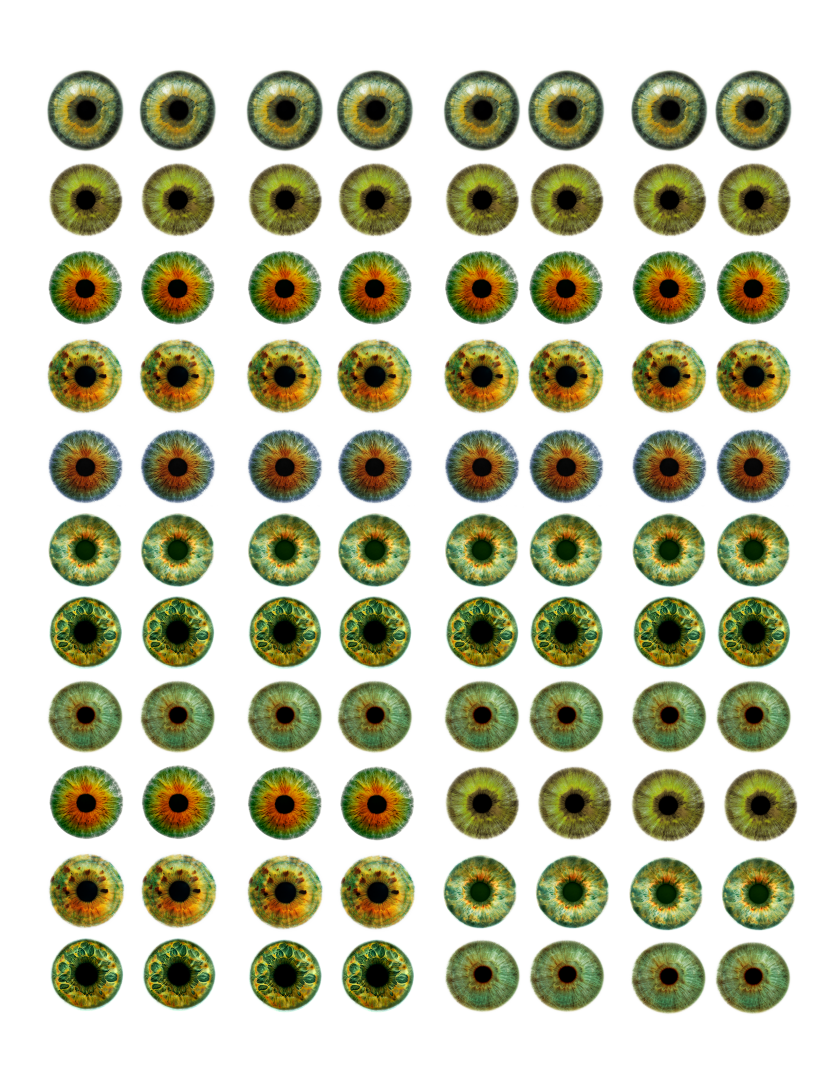
Reference eye sheet. Google the iris color you want and pick a bunch of them.
The best thing about the eye sheet is that it allowed me to test different eyes. Funny enough, I ended up going with my third choice.
Once the eye is in position, paint some veins in there with a brush (or even with the airbrush if you have a good one and are good at it) you are ready for one of the final steps.
The Latex Skin
Load your airbrush with balloon rubber diluted with water and coat it generously, but not thick. Because it's colorless and very thin it's hard to see what areas you already covered, so err on the side of caution and give it another layer. Some of my layers were too thin and that made them peel while handling the mask. They are a feature now, but originally they were boo-boos.
After you are done with the latex layer, make sure you wash your hands well before touching the piece. Any residue of latex from your skin that touches the latex on the head could and will stick and lift the latex as you pull away. I also did a boo-boo this way, messing one fo the eyes badly. I have kinda patched it since, but it was extra work and they don't look as good as they originally did.
Once the latex is dry (don't be impatient) coat it with baby powder or thin cornstarch (not cornmeal!).
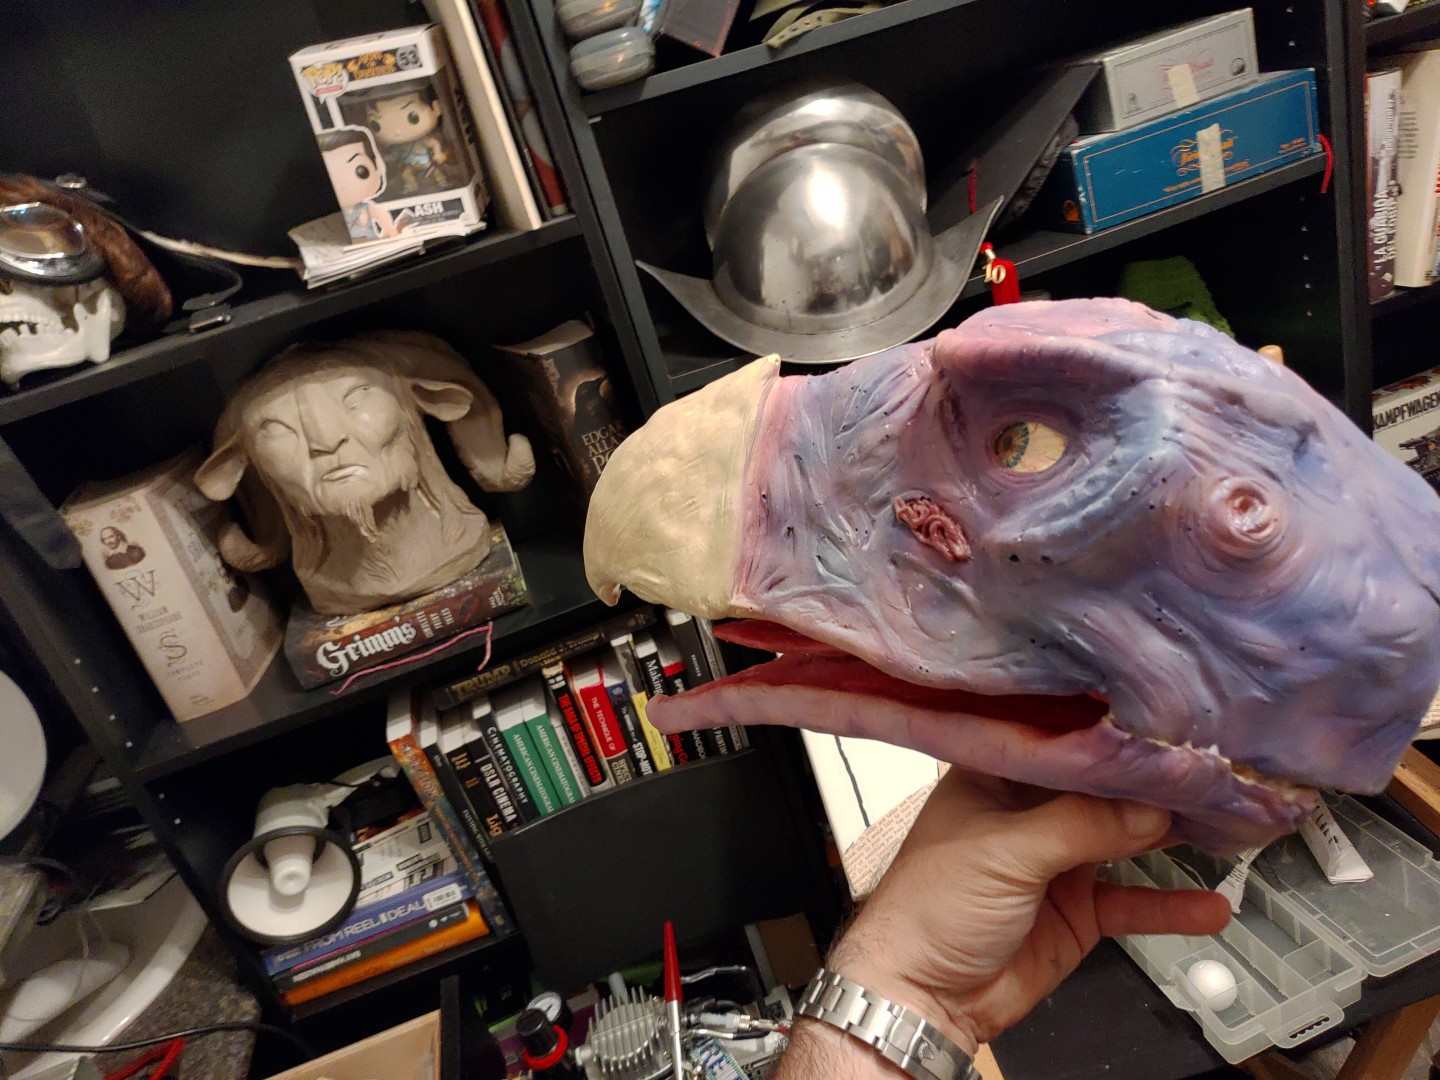
Where did my color go?
Suddenly, the head was all washed out and zero contrast. I tried wiping the powder with 91% alcohol and while the alcohol was wet, it would look normal, but once it dried, it went back to dull. It was almost a pearlescent color. It looked like it had microbubbles! Was it possible that the balloon rubber was layering and not attaching properly to the latex paint under it?
I freaked out a bit. Then I assumed that's how it was going to look. Finally, I went online and after a lot of diving, I found a thread of hope: Soapy water.
I had nothing to lose at that point. I would try it in a hidden area and If it was too harsh I would just move on and accept the final look. But it worked. The color was back (at least pretty close).
Next was the teeth
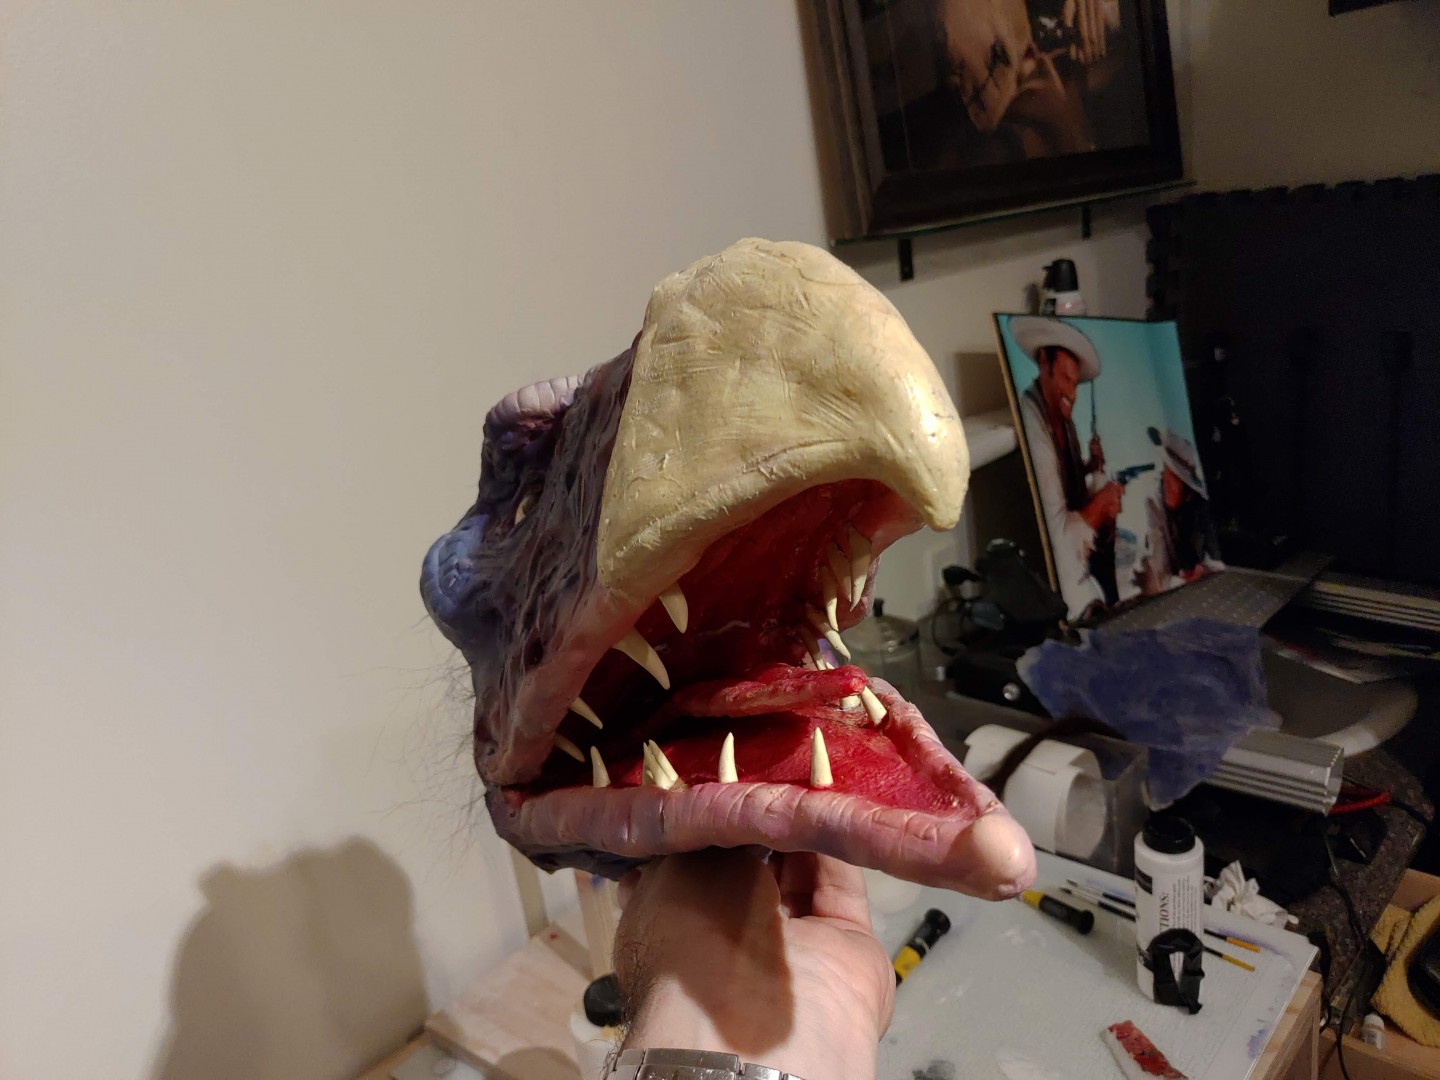
I used some of the leftover Foam-Mo to shape the teeth, let them dry, stuck them on a piece of foam-core using thumbtacks. I tried painting the teeth directly with polyfoam paint, but the chemicals on Foam-Mo reacted with it and made it clump. So instead, I layered them with latex mixed with beige latex paint. This helps because as I mentioned earlier, Foam-Mo is extremely brittle when thin and dry so the layer of latex would preserve the shape, even if they break (one of them already did, but thanks to the latex is not noticeable unless you apply pressure)
Once dry, I cut them to fit and just glued them to the mouth using superglue (cyanoacrylate).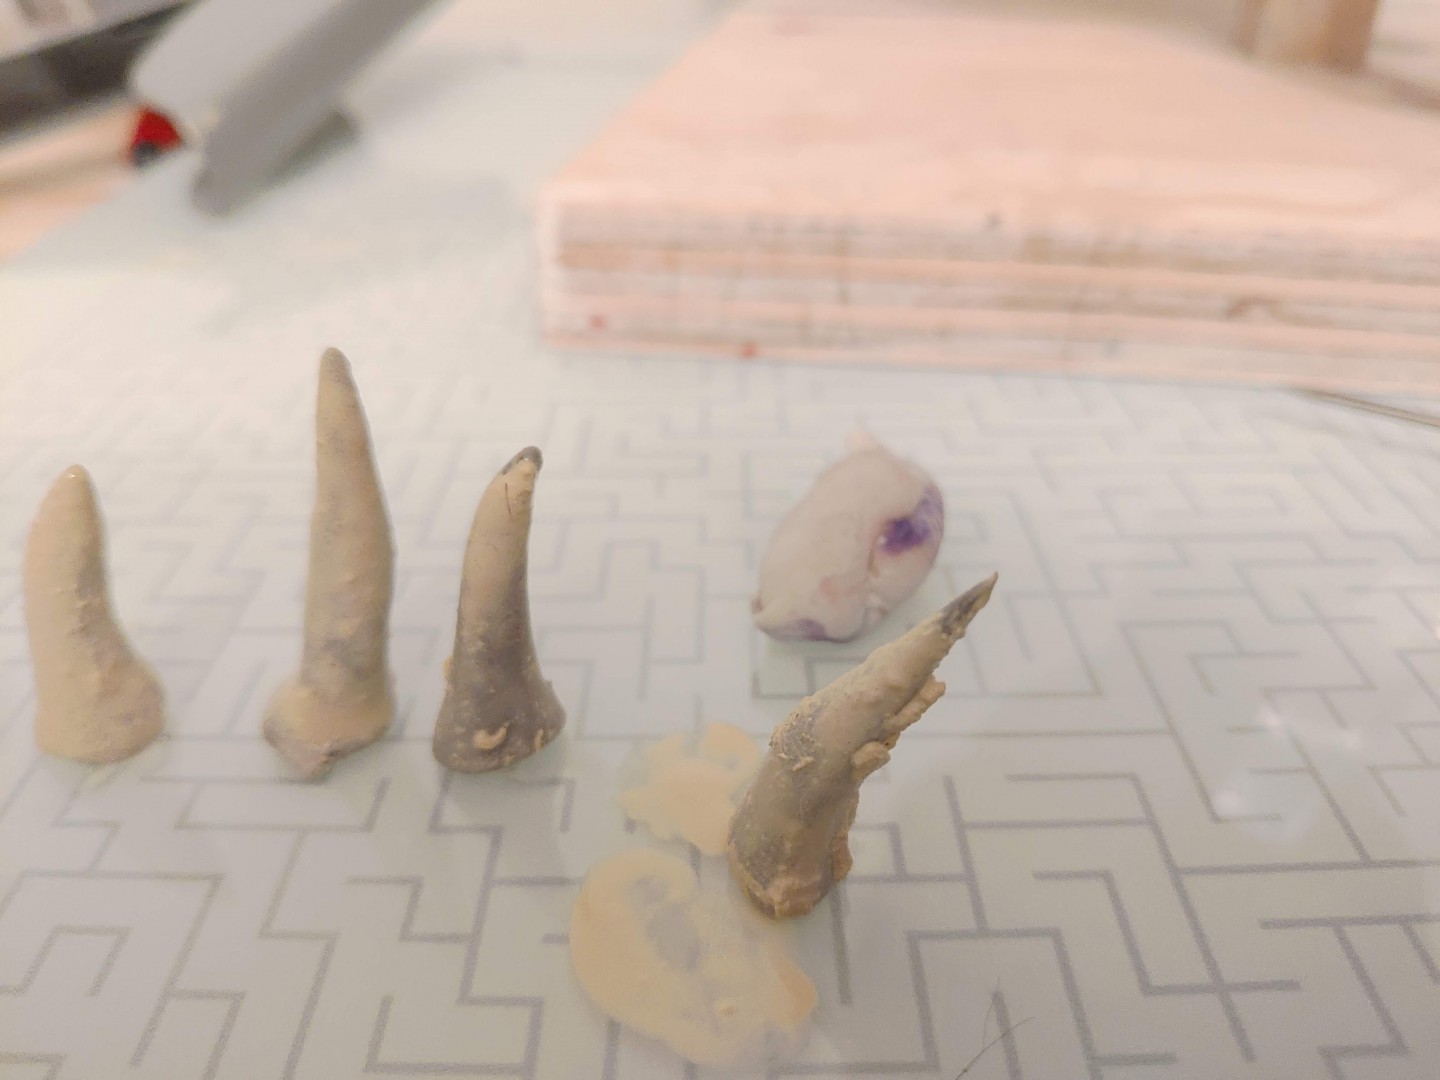
Foam Paint clumping. Not good.
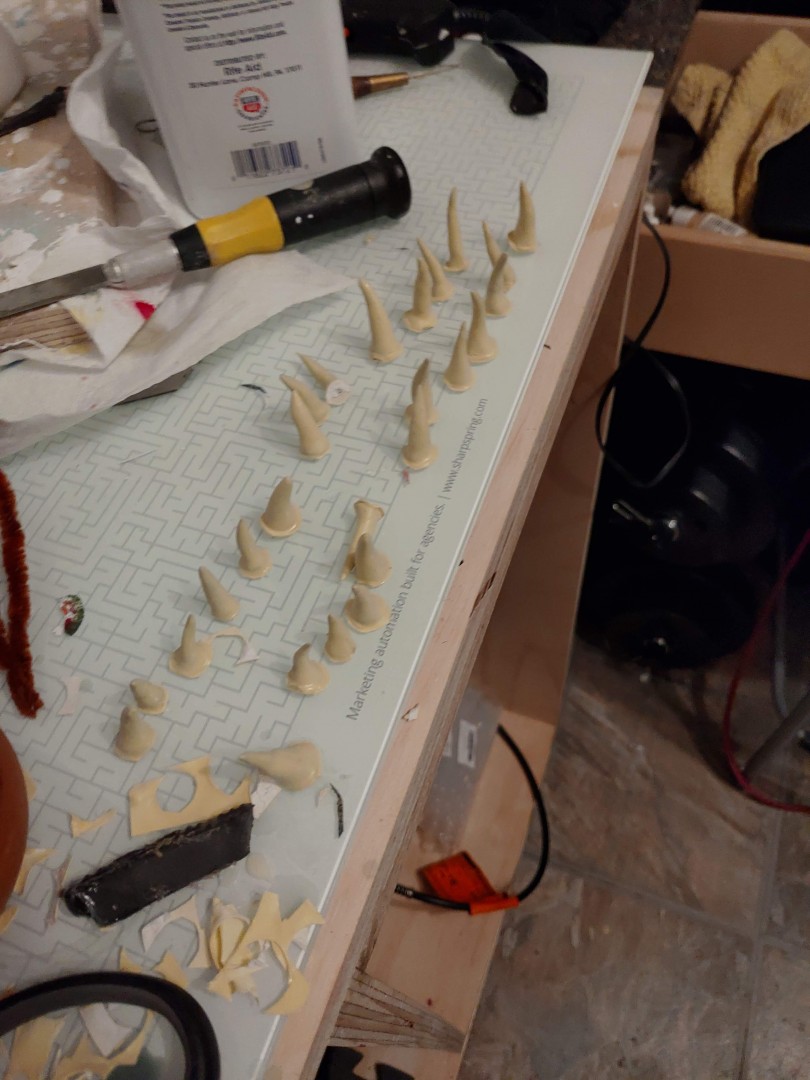
Teeth painted and ready to cut for fitting and glue
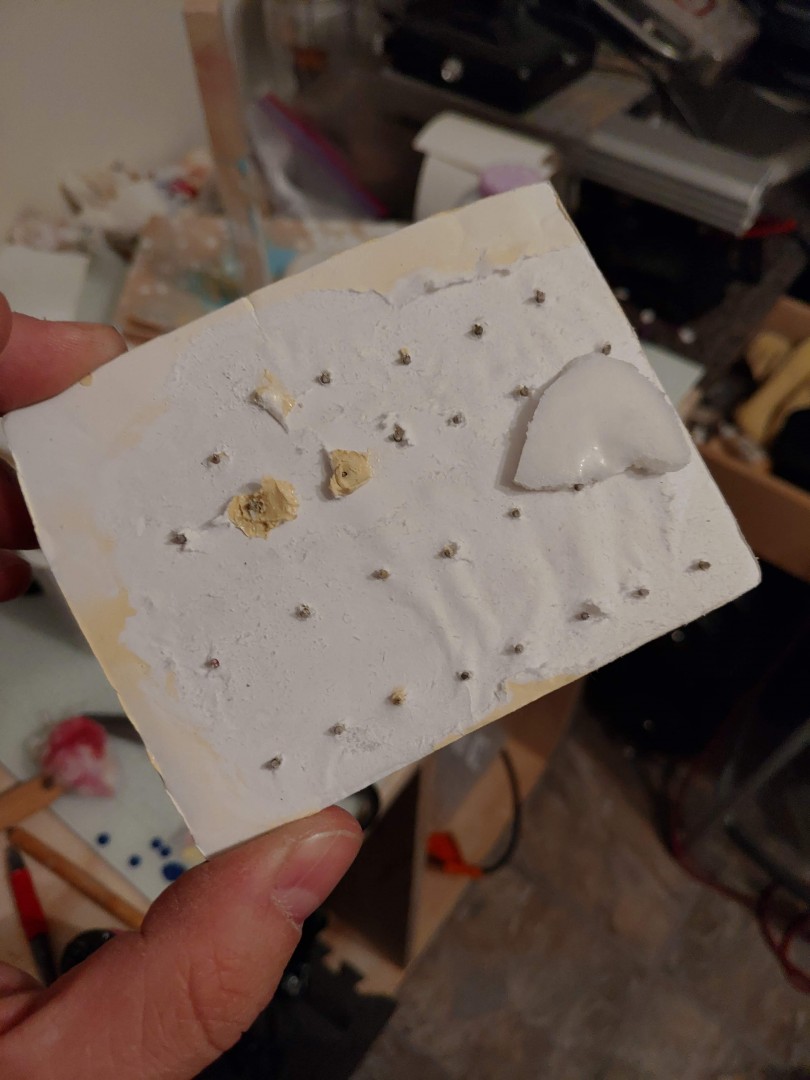
Top of the thumbtack tray for the teeth.
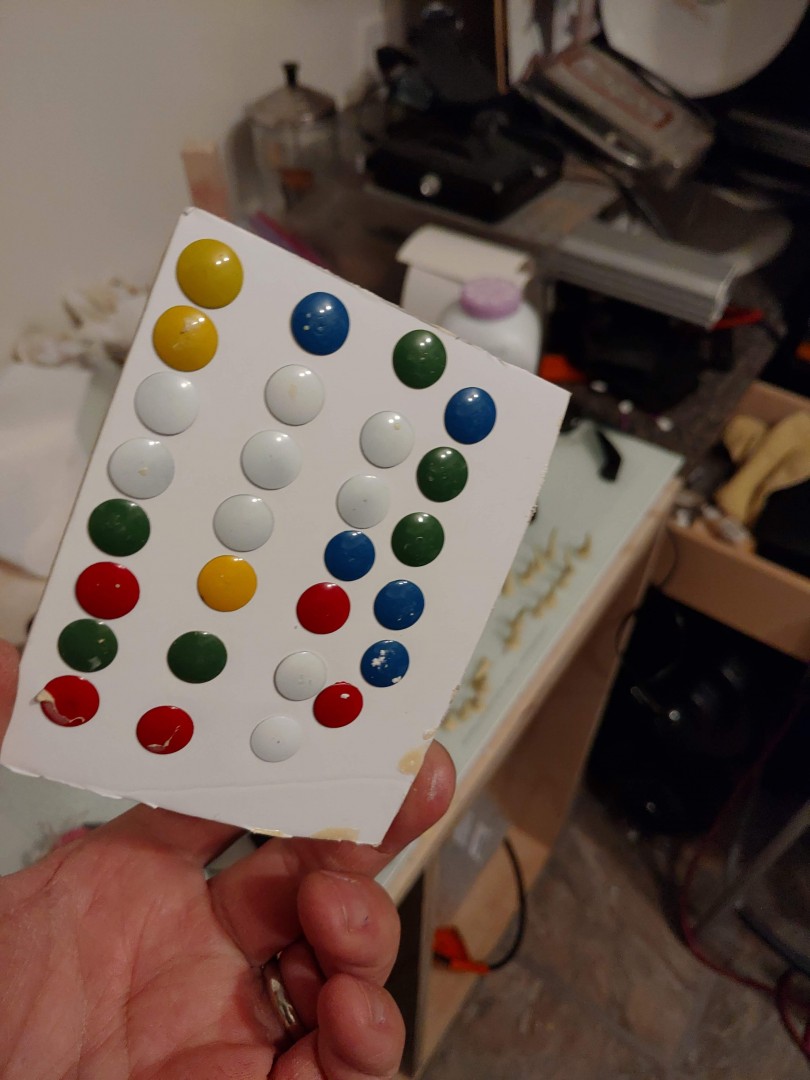
Bottom of the thumbtack tray for the teeth.
Filling the bubbles
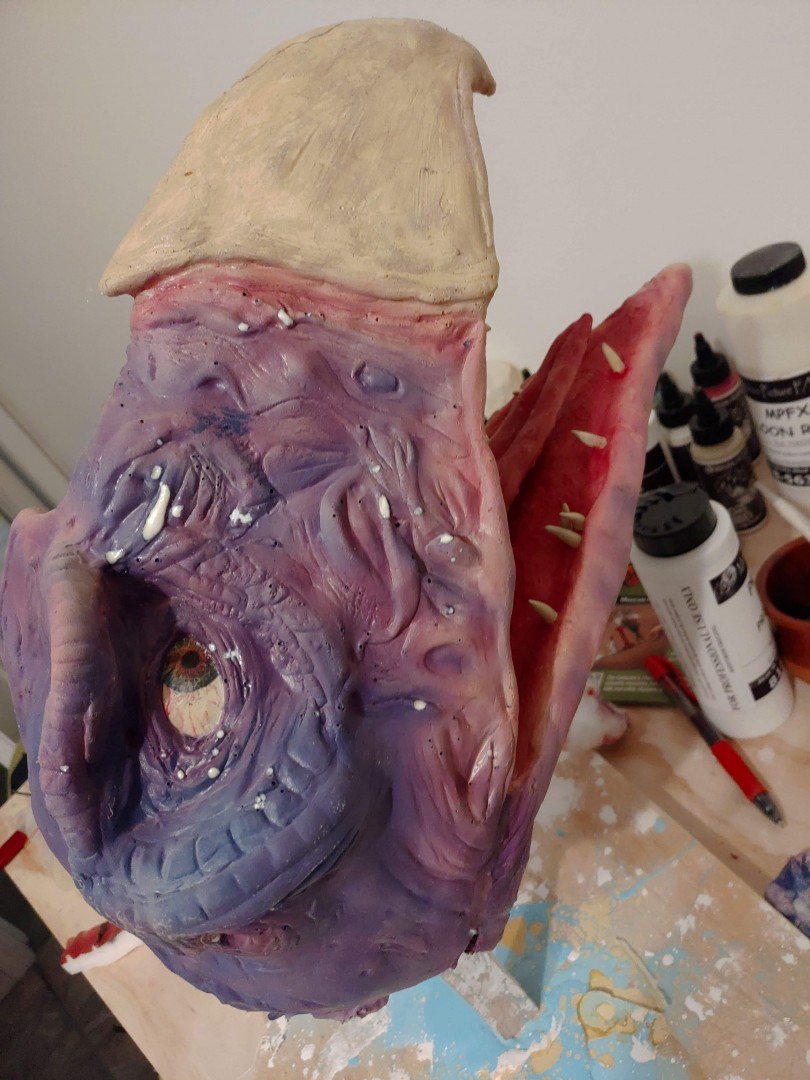
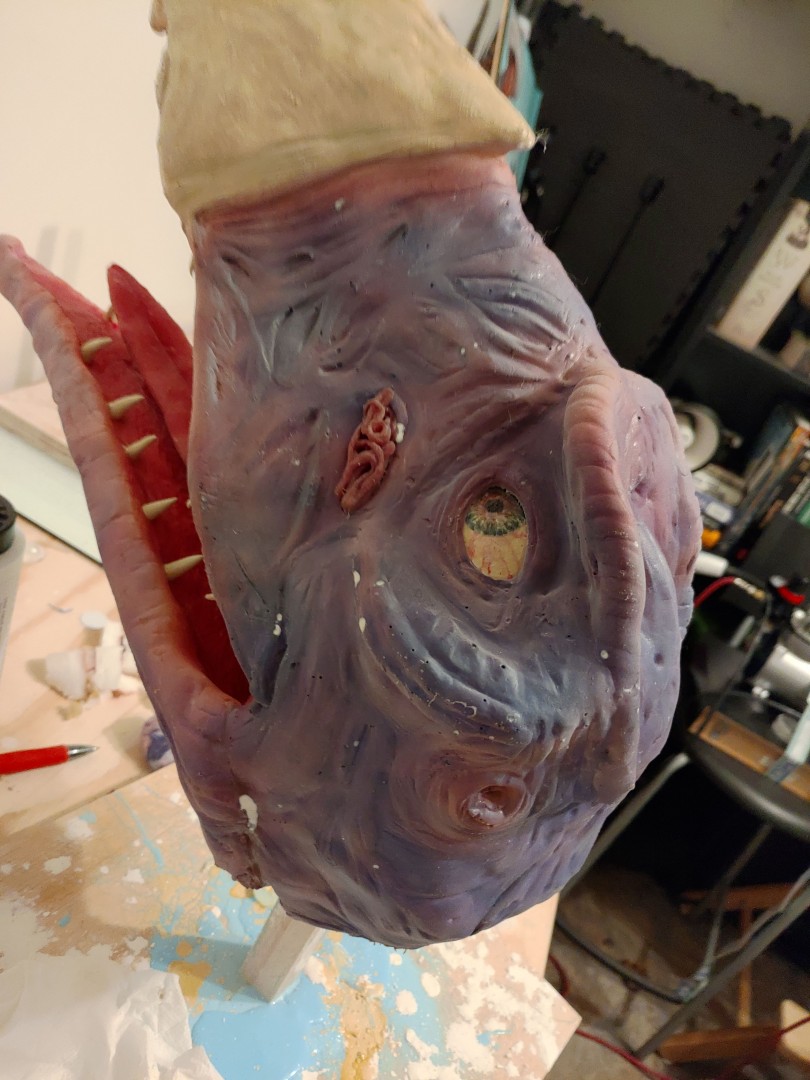
With renewed energy, I went ahead and after consulting with Jeff from motionpicturefx.com he gave me a sample of a new product he was developing. Basically it's latex but it has almost a wet toothpaste consistency. I used that to fill the bubbles.
In other parts, I used latex caulking but it dries pretty hard and it's difficult to apply. This was a game-changer: Easy to apply and flexible
It dries pretty white the moment it has some thickness to it, so that meant I had to repaint some parts. Not a big deal. I would even say that those new accents brought some life into the puppet.
Punching the hair
This was truly the last step. I bought a crepe of hair wet it with hot water to straighten it, grab a sewing needle, cut the eye in half to make it kinda like a hook shape and use that to punch the hair.
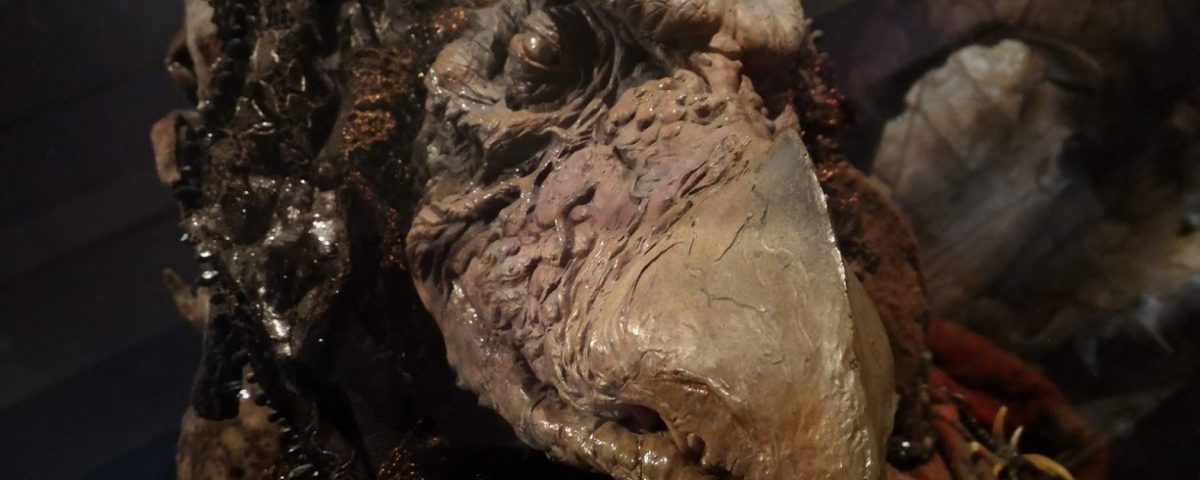
Looking at the photos from the original skesis and mine, I realized I should probably add more hair. It's tedious work. Some of my punches have too many hairs and makes them look like "doll hair" but it's easy to fix by pulling some of the hairs out.
It's important to be careful because the latex layers are so thin that if the foam breaks, the punch might be visible, revealing the white foam under it.
This is another topic in which I am no expert, so I'll link a video to a guy who does a phenomenal job explaining the technique.
And this concludes the creation of the head. Nex will be the hands (with prensible mechanism) the neck and the body (structure and garments).
I hope you enjoyed the journey as much as I did and that you can learn from my mistakes.
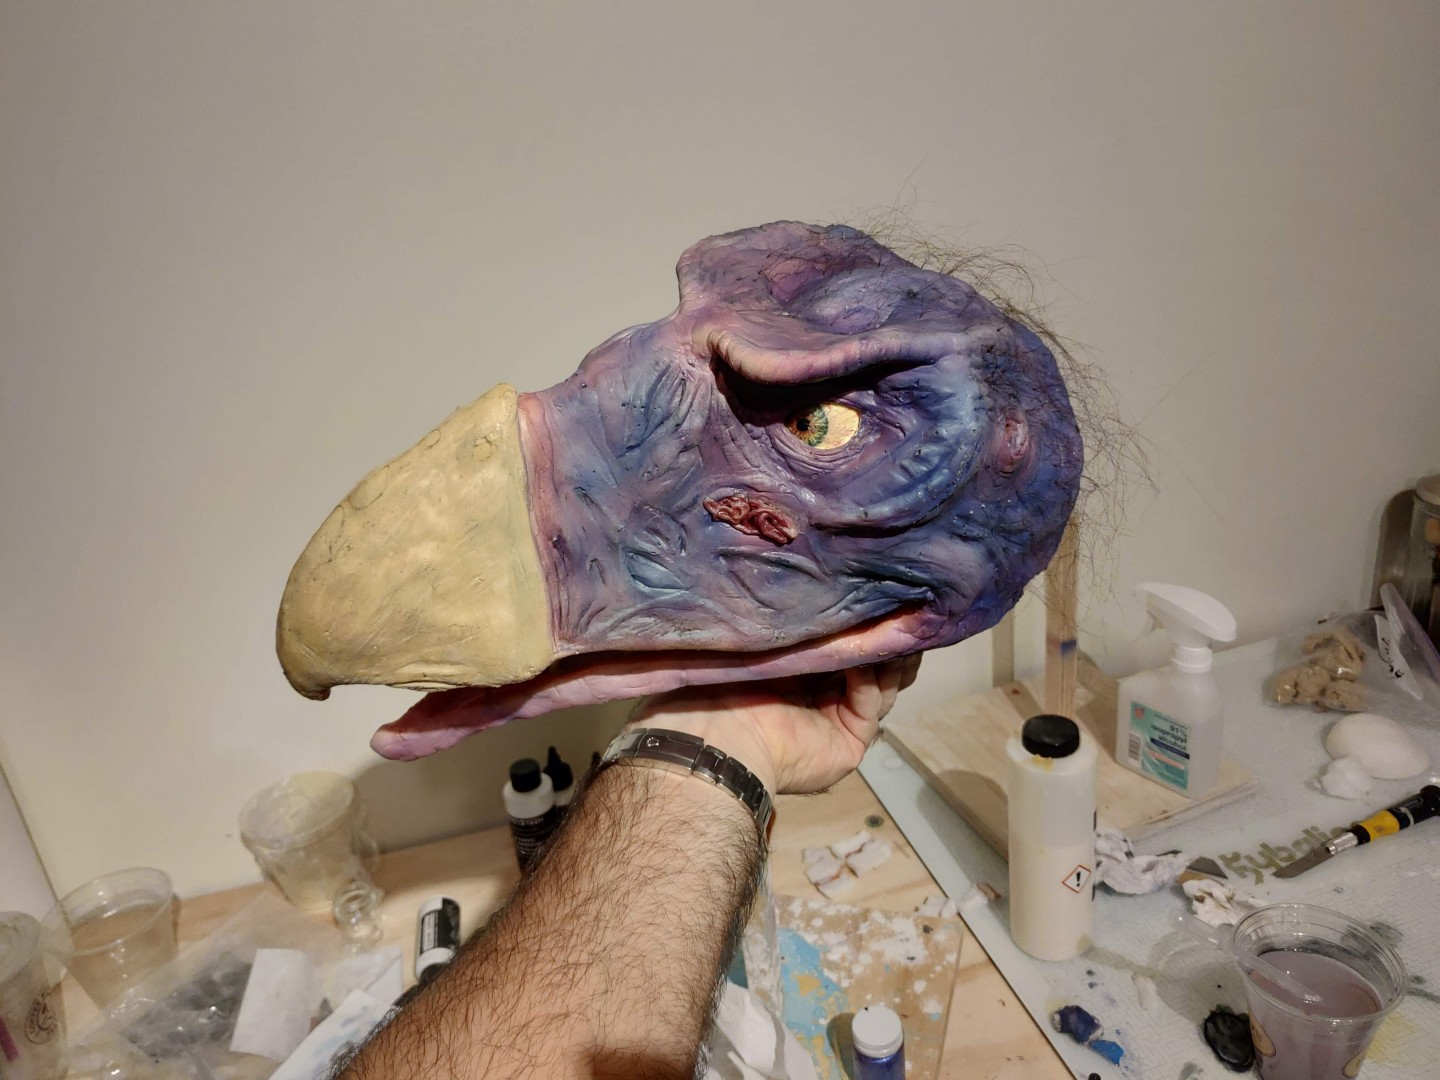
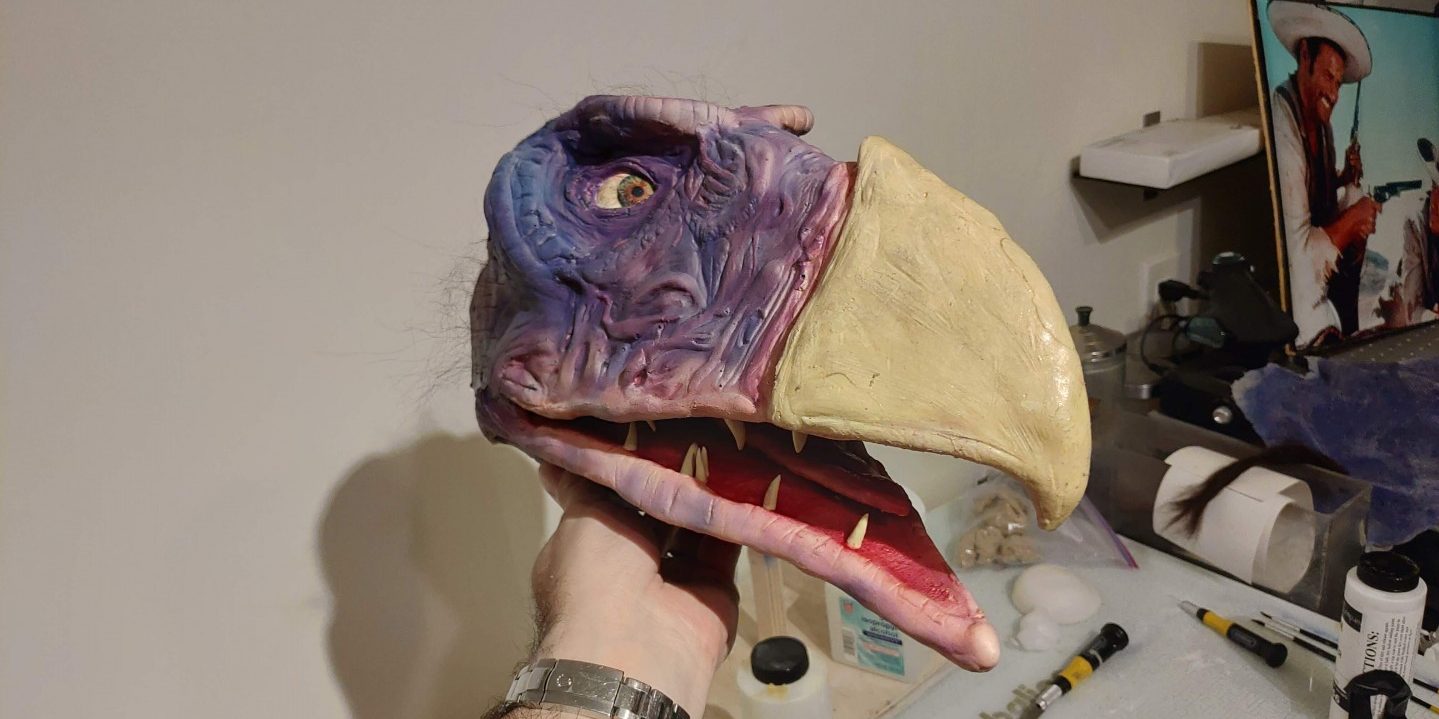
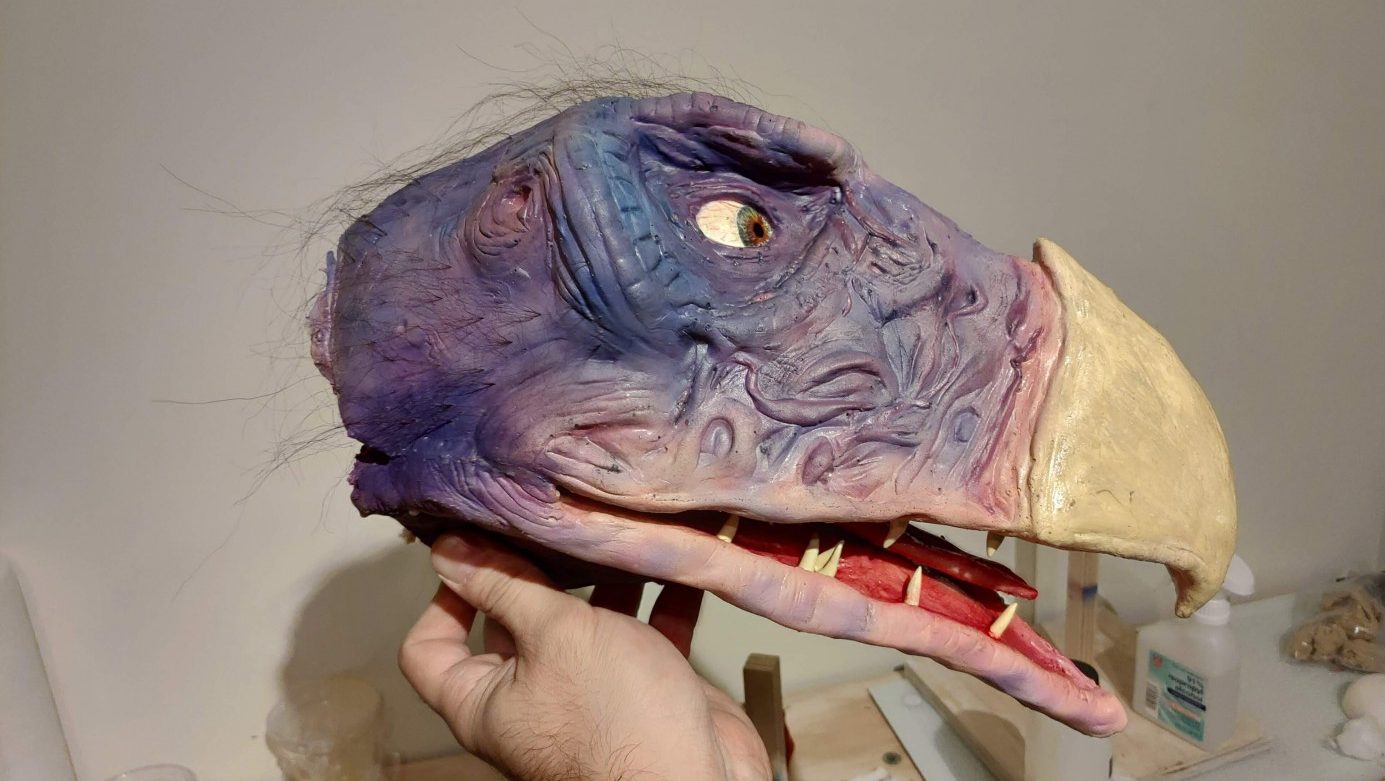
Here's a gallery with some of the finished photos

