Skeksis Chamberlain Puppet – The Head – Part 2
October 18, 2019
Skeksis Chamberlain Puppet – The Head – Part 4
October 18, 2019
Casting the mold
Again, not too many photos of this part because the material reaction is so quick that it will harden on you before you can even finish.
Prepare the mold. Make sure the silicone and the registrations are fitting nicely, tie it together with the strap and use the rubber band for additional support on thinner areas. This is needed because as the foam expands, it will otherwise separate the mother mold and your cast will be deformed.
I used a self skinning foam profoam 4lb.
It's a two-part foam that forms a paintable skin. The top part of the head weighs approximately 450g while the bottom part is about 160g. This is hard to know until you prepare your first batch and pour it, but if you go over the volume it will start foaming out from the opening of the mold and that's material wasted. With what's left of Quart kit I might be able to pull a second cast.
To mix it quickly and evenly it's recommended to use a Jiffy Mixer used to mix paint.
These are a paid links.
You first pour part B, fluff it with the mixer to get a more aerated foam. Then you add part A and mix it well before pouring it in the mold. You have like 20 seconds once you pour part A in.
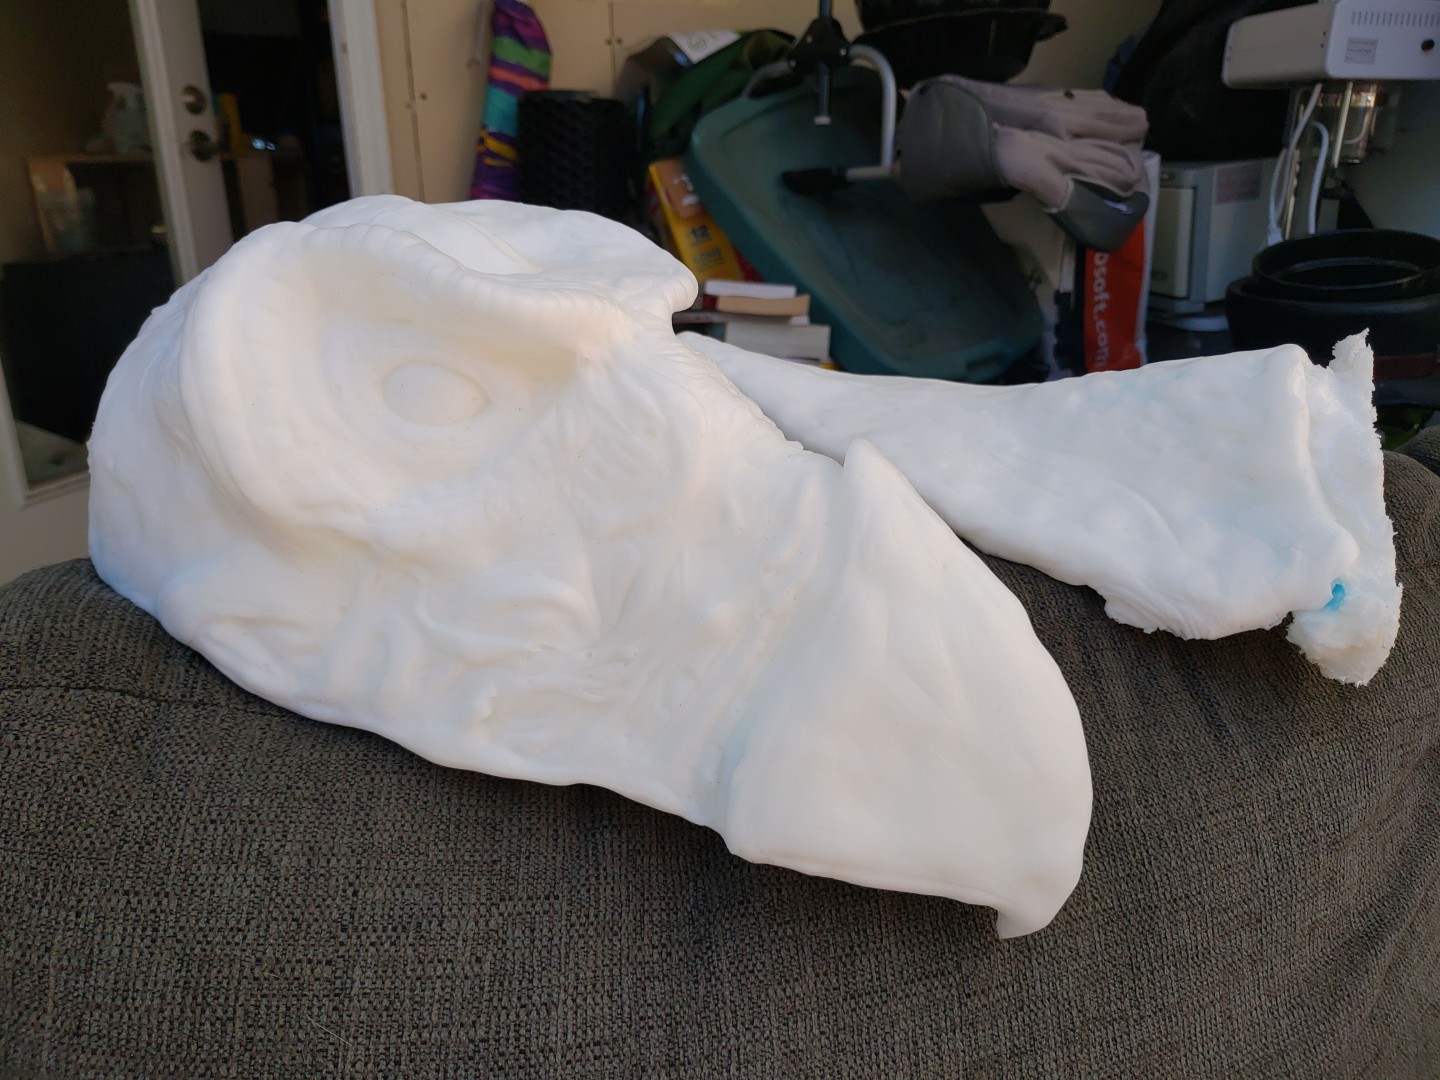
Swish it around your mold to make sure you get all the detail. For the top part, I tried to leave a cavity on the mold exit so I can fit my hand in to operate the puppet. This is not completely necessary and you will get better results if you don't as the foam will have good pressure and will get in all the details with minimal bubbles. Bubbles were an issue for me later on.
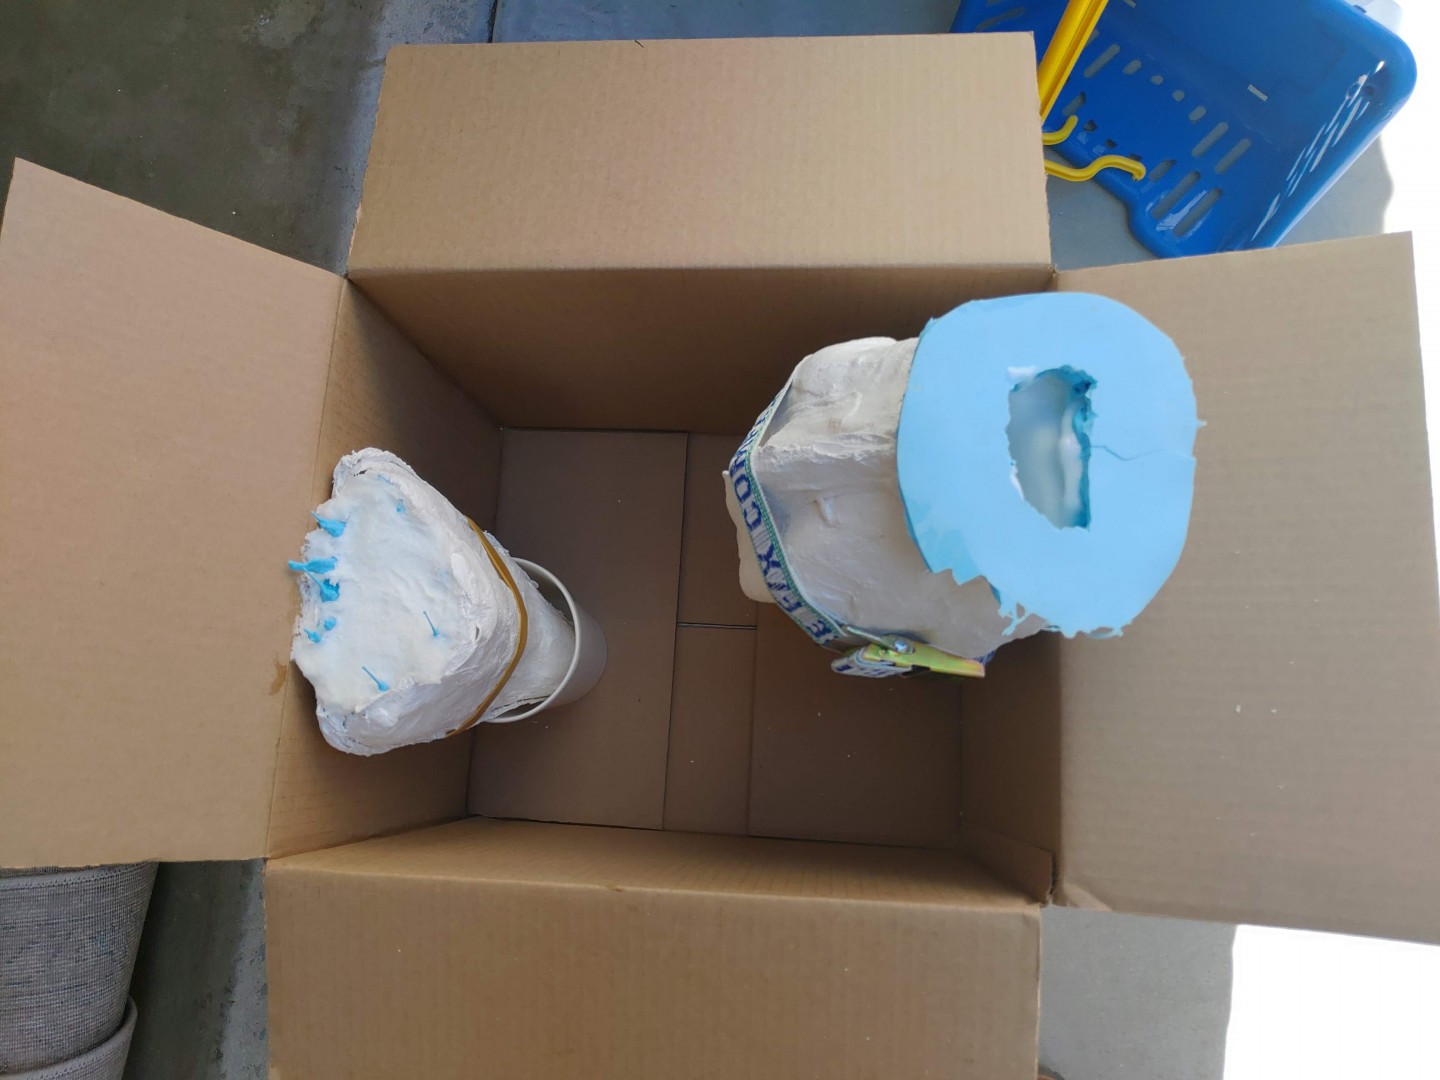
My Original plan was to have a mechanism for the eyes made of wire and wood, so I could move them. In that case, it made sense to try to leave as big a cavity as possible as carving the foam is not super simple.
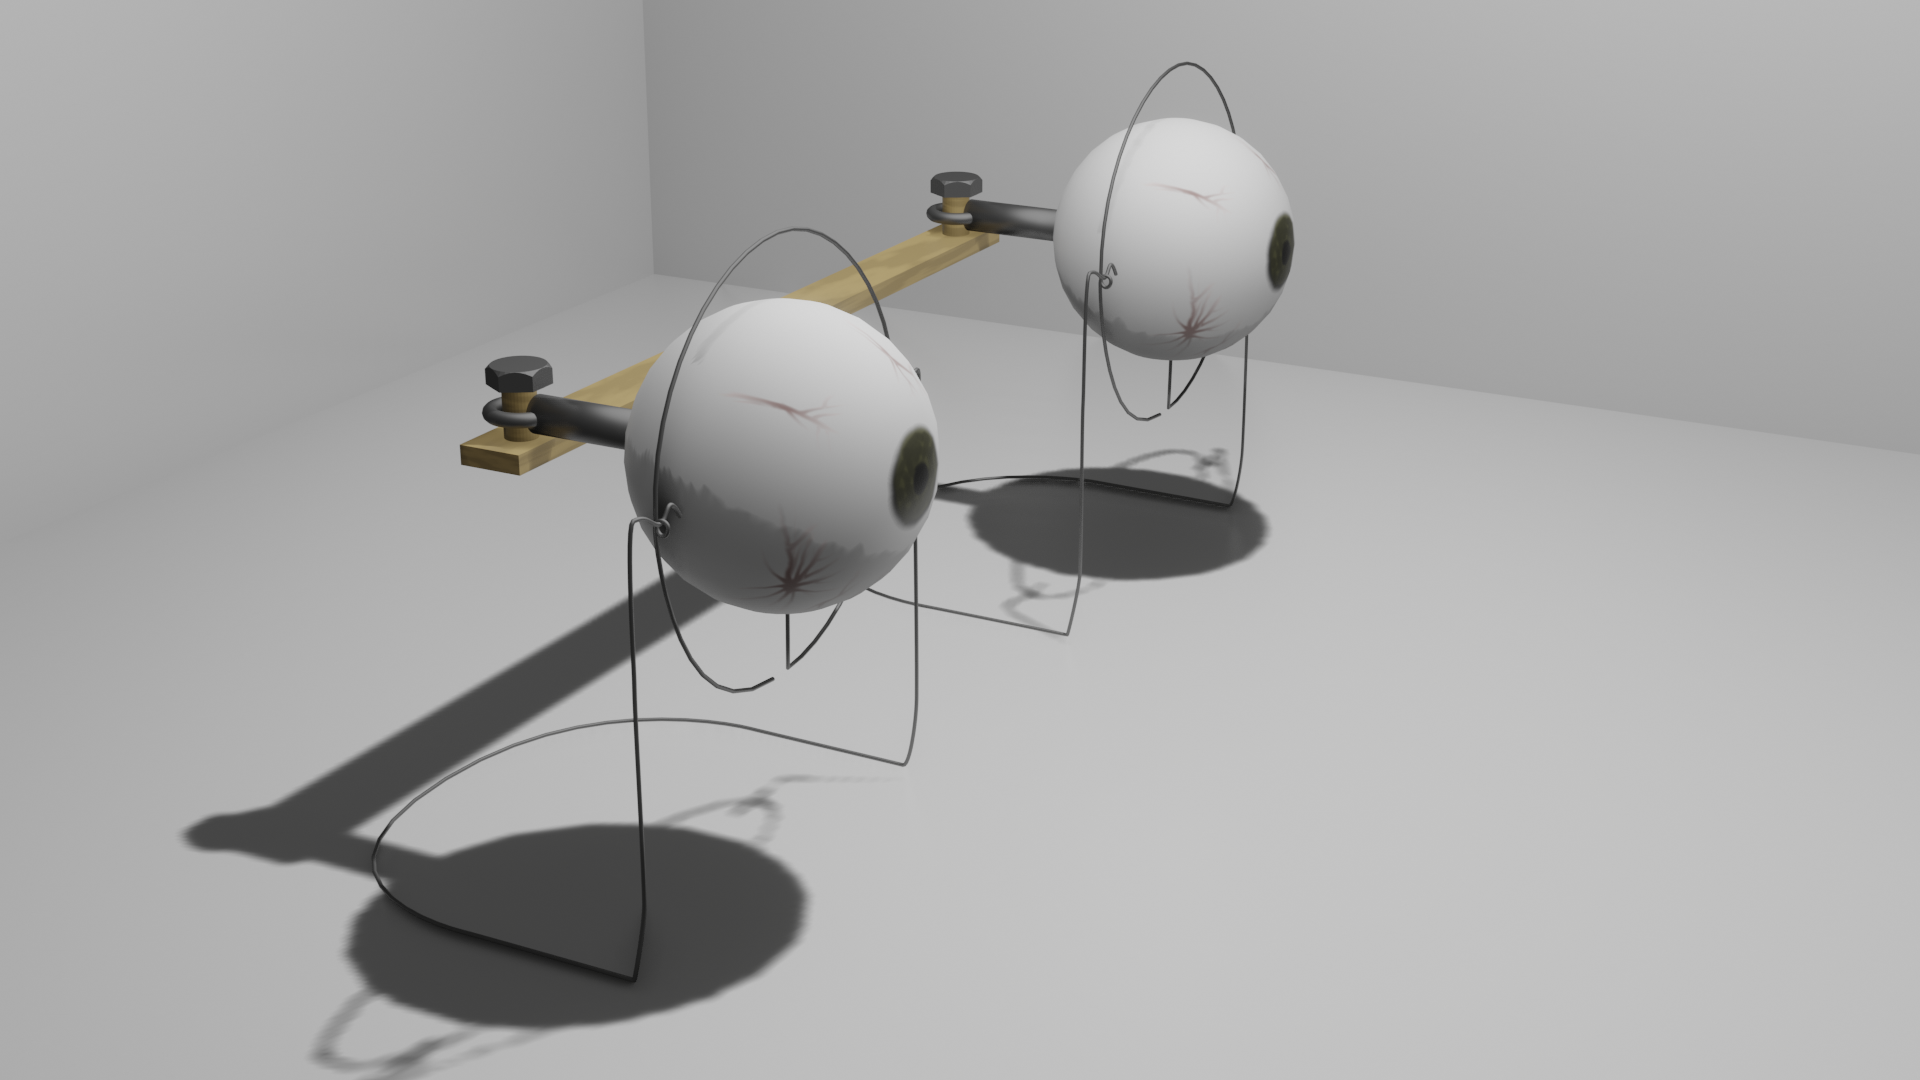
Sketch of the eyes design I made in Blender
I have since scratched the idea, (at least for now) as it would be hard to operate the mouth and eyes at the same time.
Once the foam is not hot anymore, it's ready to de-mold.
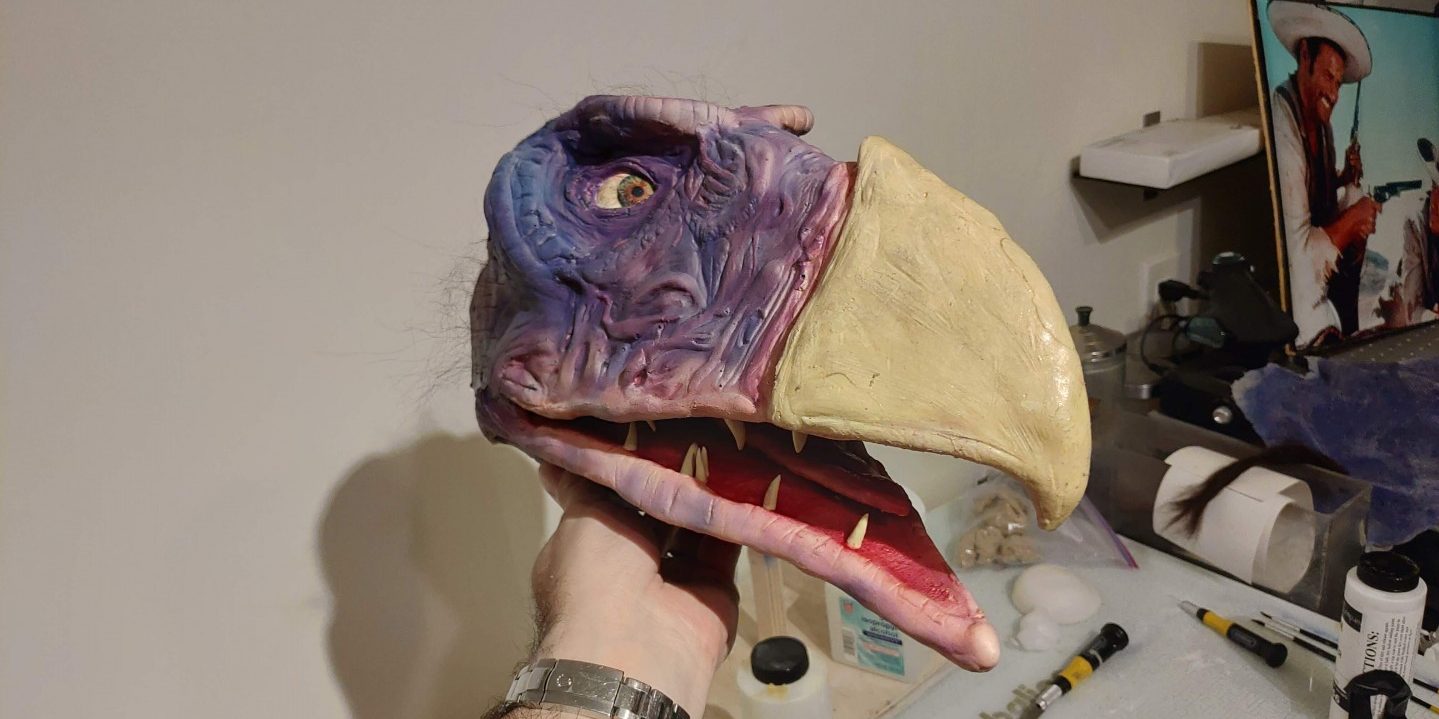
The paint Job
This is another artistic part, so follow your gut and download a bunch of reference photos.
I used a single action Paasche airbrush I bought years ago for another project. Not the best choice. I ordered one of these since. It's a Chinese knockoff of an Iwata. If you can afford it and plan on using it a lot, it's worth going directly for the Iwata. In my case, the Chinese would do just fine.
These are a paid links.
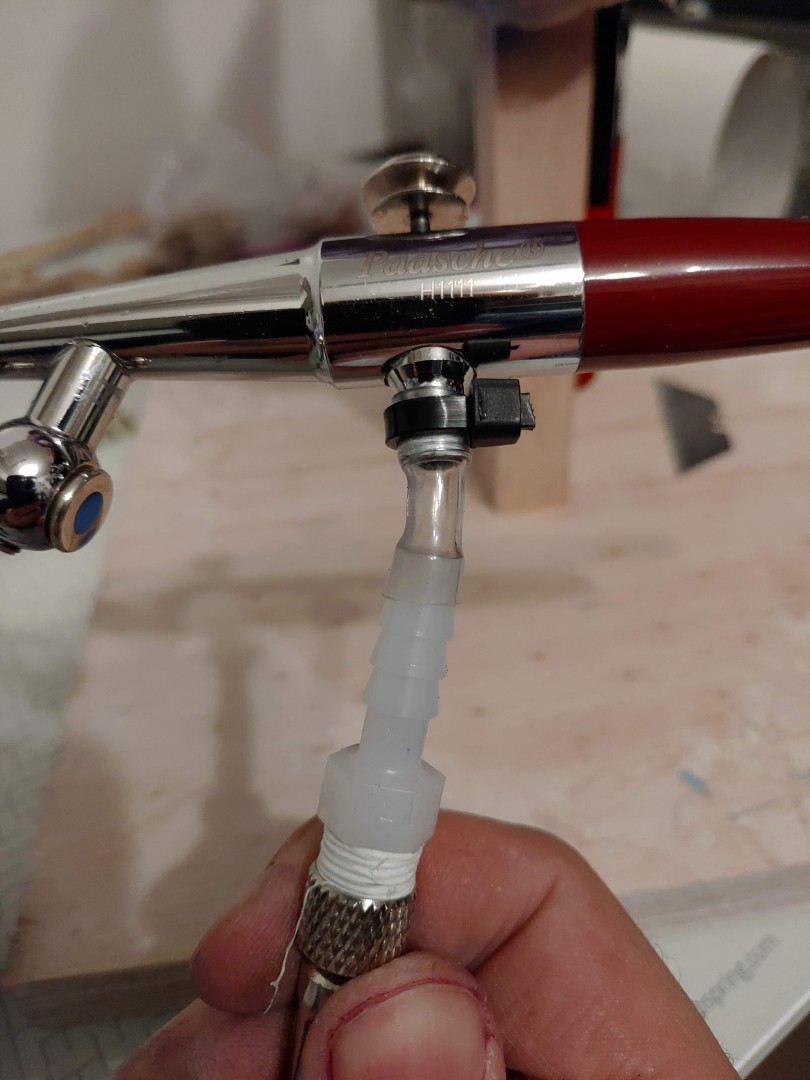
A quick note here regarding the airbrush: Paasche uses its own proprietary screw diameter for the hose, so the hose that comes with the compressor kit will not fit the double-action Master Airbrush. The link I attach is to a version with a hose that should fit but it's not the one I ordered myself and I have not tried it, so do your research.
For the paint, I went with Night Shades latex mask paint after a primer of Night Shades Polyfoam paint. Thin the paint down if you are going to airbrush it to a consistency similar to 2% milk.
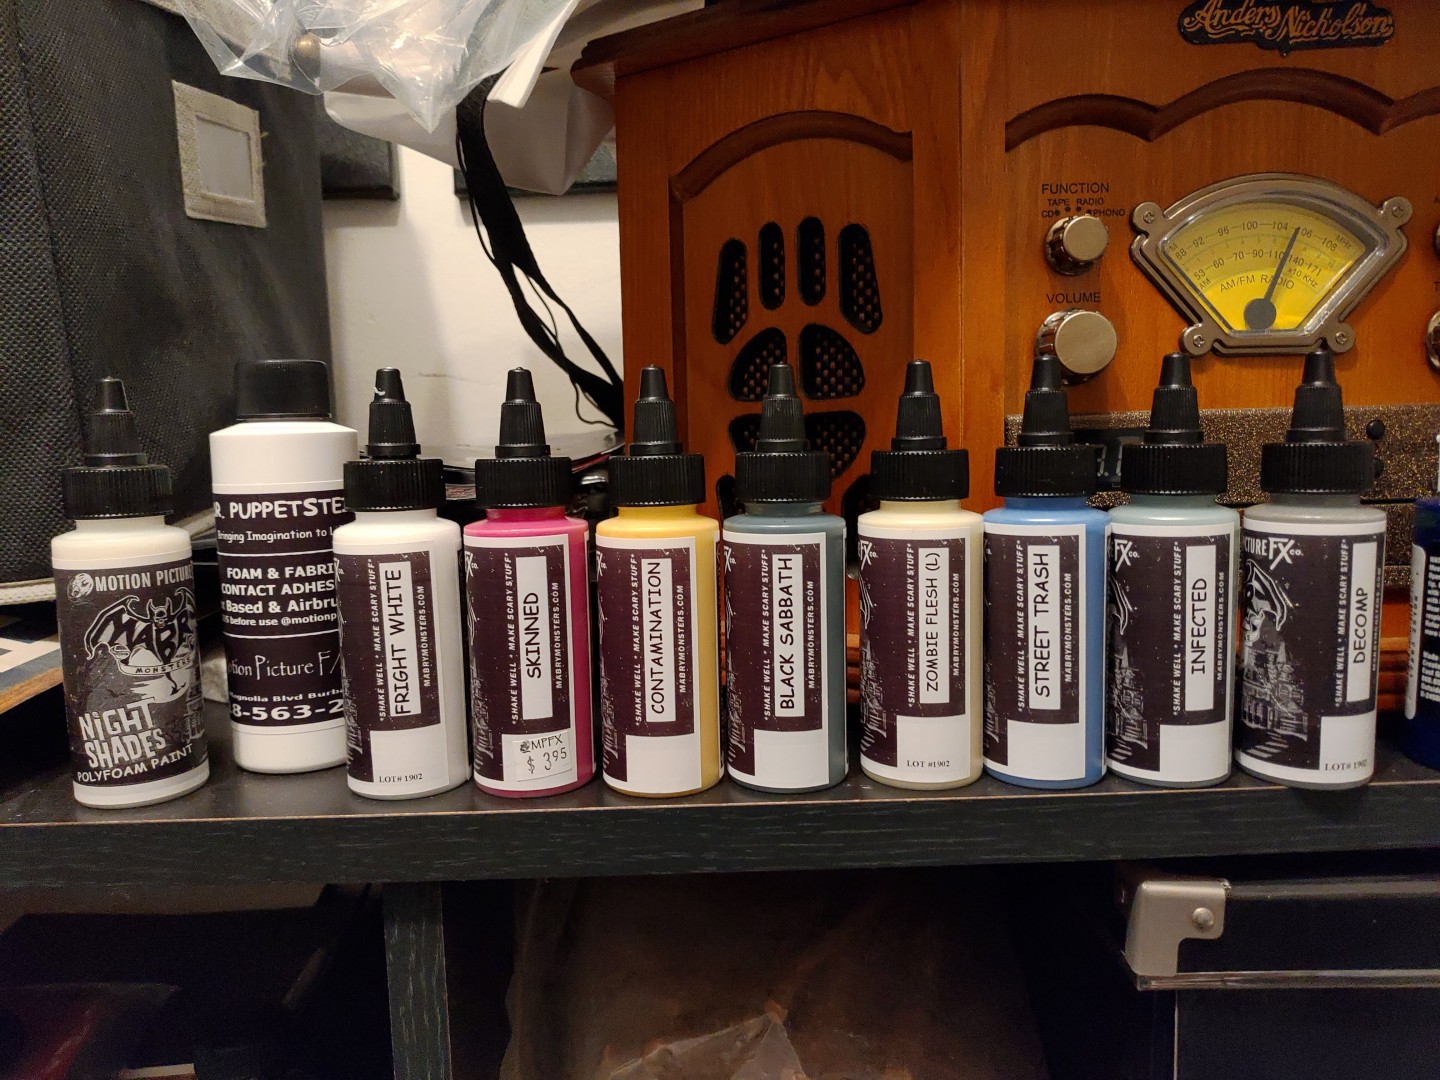
I'm not an expert painting so there might be some crimes committed against art during the process.
Mask the eyeballs and get to painting.
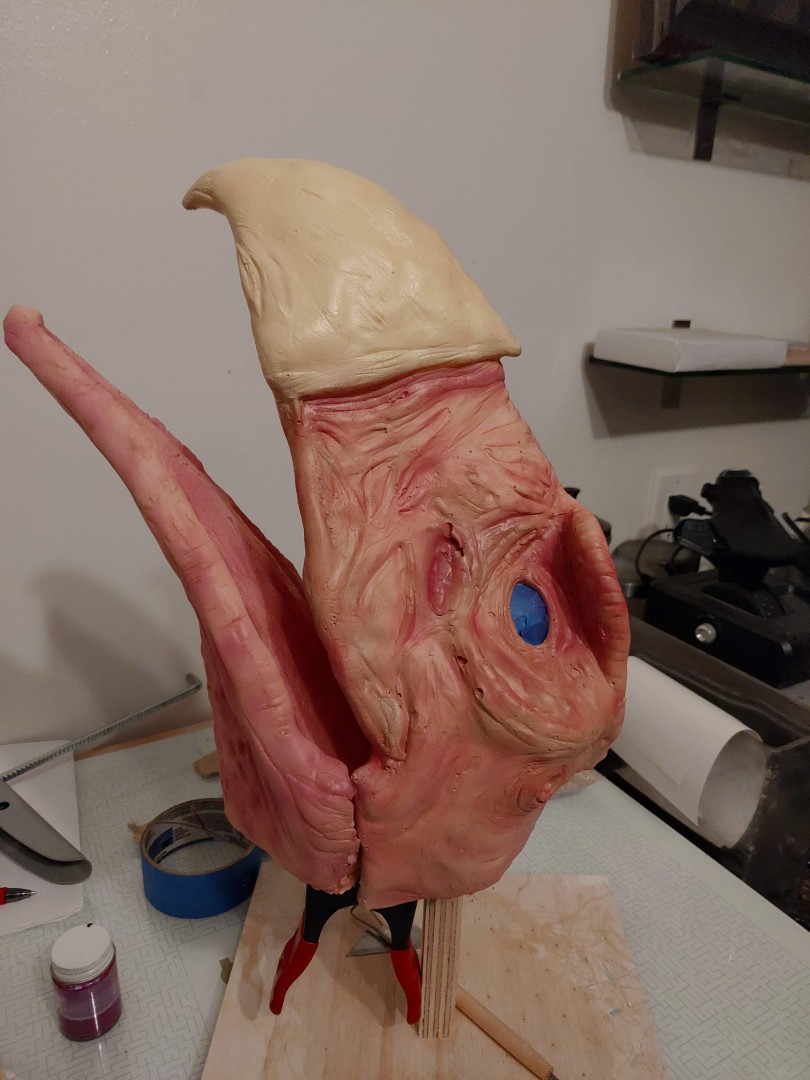
The easiest way for me was to start with a lighter fleshy pink and add blue to the cup as needed to build up to that final color I wanted and transition smoothly. That way I was not spending time cleaning the cup and changing colors.
Looking back, I should have probably work in the shadows after the first fleshy layer as it proved hard to do later given the angles and shape fo the head. Usually, you throw shadows from below at an extreme angle and highlights from above at an angle. I was not really able to get clean results that way.
Oh, and remember what I told you about the Paasche proprietary thread size? My compressor was not secured and with the vibration it fell from 3 feet high, landing on the hose connector and snapping it. The compressor was fine and I went ahead and bought the cheapest closest looking hose I found. It was when I tried to attach it that I learnt about the thread.
I had no time to waste and I didn't want to wait until an adapter could be delivered as they did not have them in any local store so I cut a piece of my aquarium's hose, got a barbed nylon hose adapter from the local hardware store and a zip tie to fix it.
At this point, the head was still two parts. I was keeping them together with blu tack or earthquake putty. I did this so I could paint them evenly and avoid mismatch.
Before I glued them, I had to make a tongue. The process was very similar to what was done before:
The Tongue
I sculpted a tongue and "tonsils" on clay, made a pour-on (different method) mold with silicone and cast it on foam.
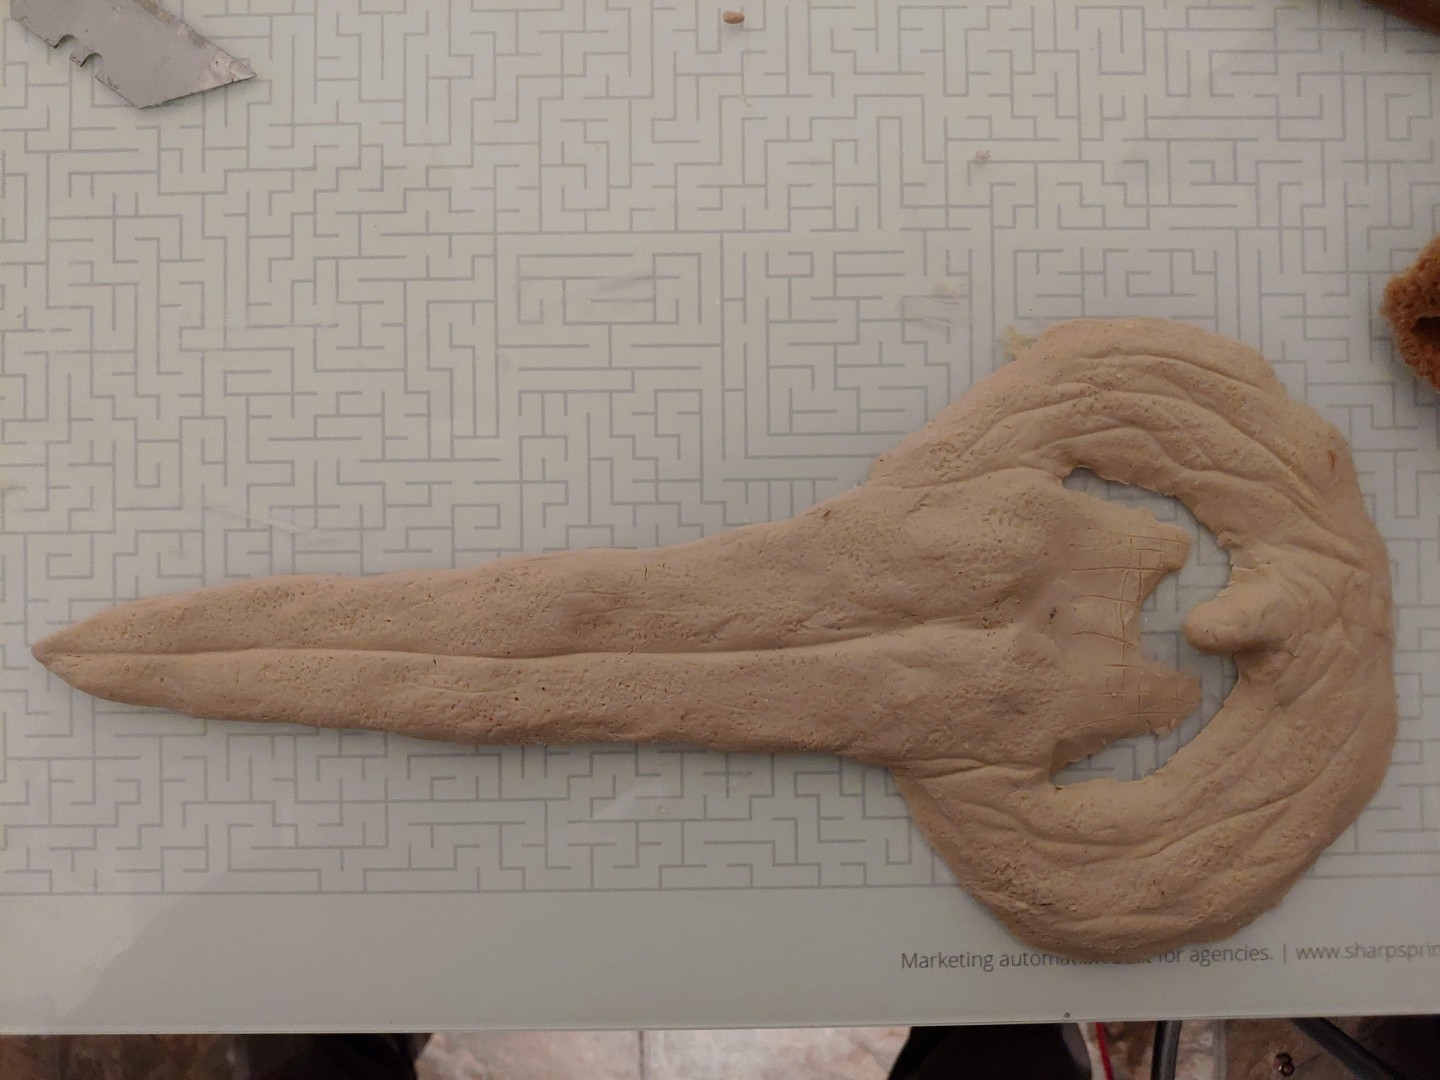
This piece does a double job: It's esthetic and also works as a hinge
Before gluing it to the back of the lower jaw, I inserted an electrical wire inside through its length. This allows me to shape it so it has character, but also, as the wire was longer and protruded through the back, I can flick it and add motion to the tongue. It's not the eyes mechanism, but it's something.
Then I glued it to the top jaw, glued the mouth seams and continued painting (and adding layers of liquid Balloon rubber on the seam, which is similar to latex, but more flexible and dries a bit clearer) until I was about happy.
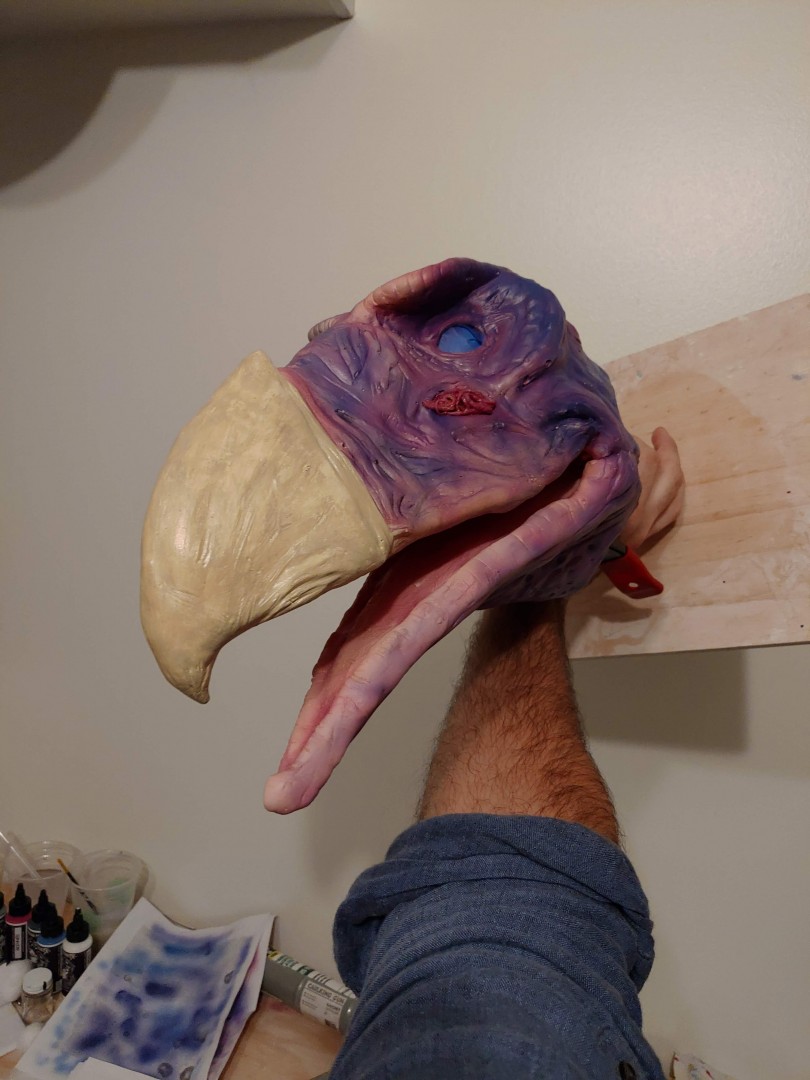
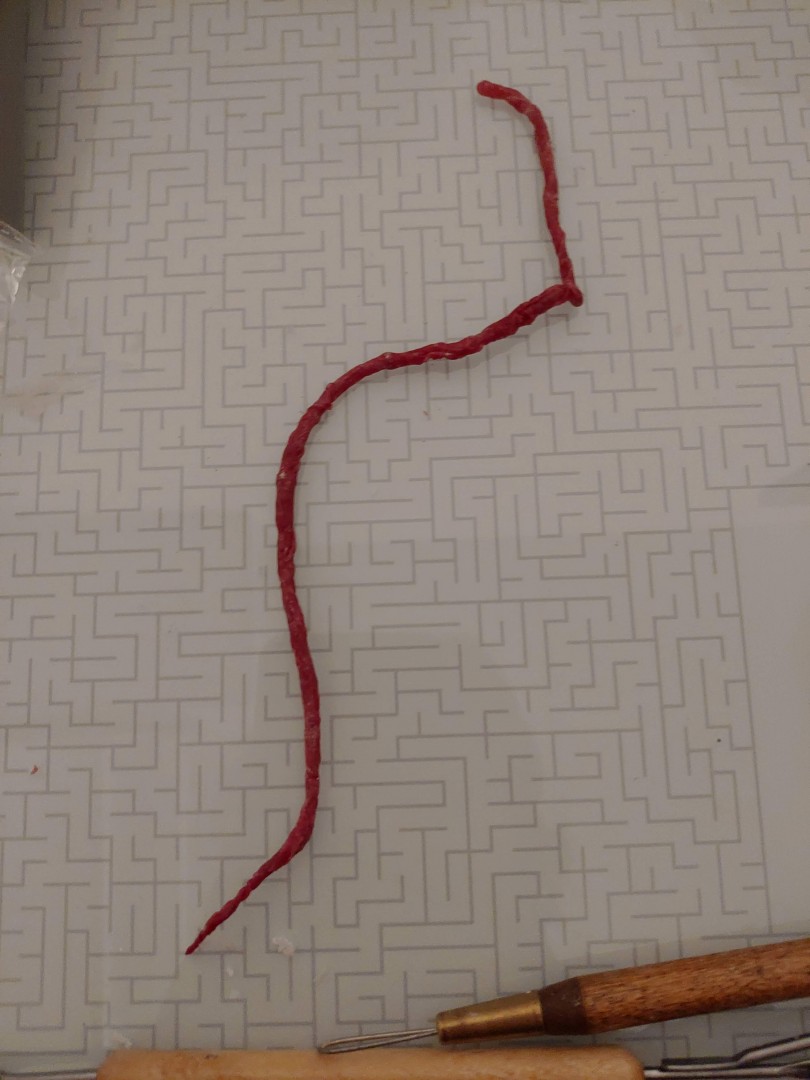
And that squiggly bunch of veins?
I spread balloon rubber mixed with some red latex paint, very thinly, making a skin on a glass surface. Once it dries, if you want to pull a skin, you would put baby powder or cornstarch, otherwise, the latex will stick to itself. But in this case, that's exactly what we want. Roll it from the edges over itself until you get the diameter you need, then cut it from the rest.
