
Skeksis Chamberlain Puppet – The Head – Part 1
October 18, 2019
Skeksis Chamberlain Puppet – The Head – Part 3
October 18, 2019
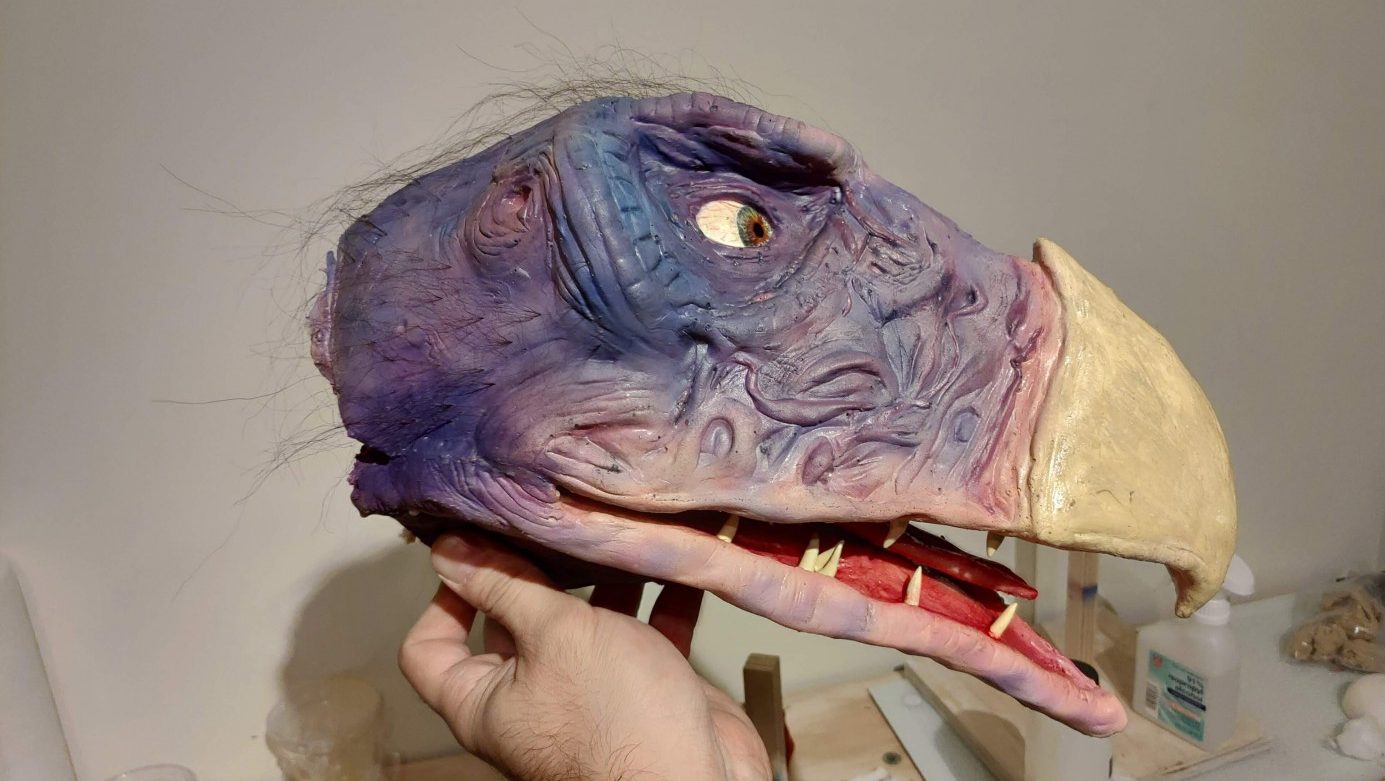
So, a Mold it is?
This is the step I had been looking to avoid from the begining, but it was inevitable.
Foam-Mo was not as good material for the finished piece as I hoped. Still really cool and easy to work with, so I will be using it again, but not for a final product. It shrinks and tears easily
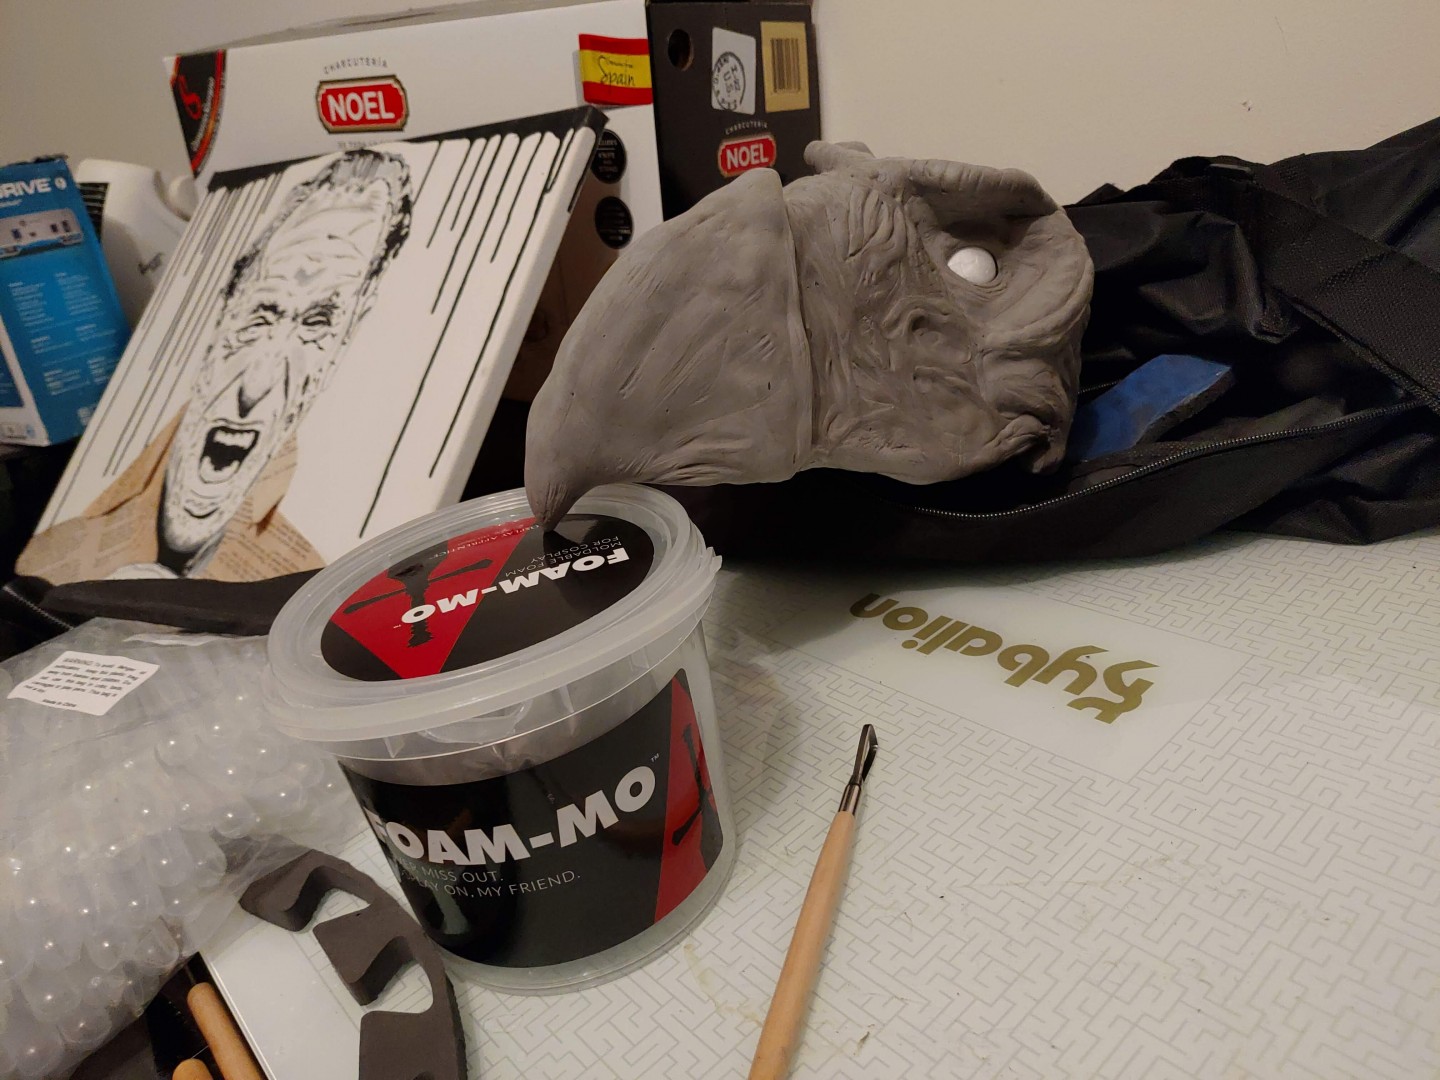
And the main reason to avoid this step was the cost. This went from a little under $100 project to a $300 (up to $600 if you don't have any of the materials and have to purchase from scratch).
I went to visit the physical location of www.motionpicturefx.com than conveniently is down the street from where I live and I can stroll over there. I'm not affiliated with them, but I've been a customer since 2009 and I've visited 3 of their 4 locations through the years, buying little things here and there for my little projects.
I was concerned about messing up the paint job and the durability of the puppet. What if I could make copies? Then all my worries would be gone. If the paint job was bad I could cast a new one, same if me (or my "Destructo" daughter) accidentally damaged it. Peace of mind. At this point, I realized making a mold was the way to go.
I bought One gallon of mold silicone with a pro blue activator a 32oz bottle of U.F.C..(Ultra Fast Catalyst to accelerate the speed at which the silicone cures) and a small 4oz bottle of Thixo, which is used to thicken the silicone and make applying it quicker as it turns it almost like peanut butter consistency.
You will also need chip brushes (one for each layer (I did about 4 for each part, a total of 8 brushes) to apply the coatings, nitrile gloves to not get any nasty chemicals on your skin (I prefer them to latex to avoid problem when I start working with the latex), stirring sticks and buckets to mix the silicone, a box of plaster bandages to make the mother mold (the hard shell that keeps the silicone mold shape) Mold straps and rubber bands to hold the mother mold together while casting
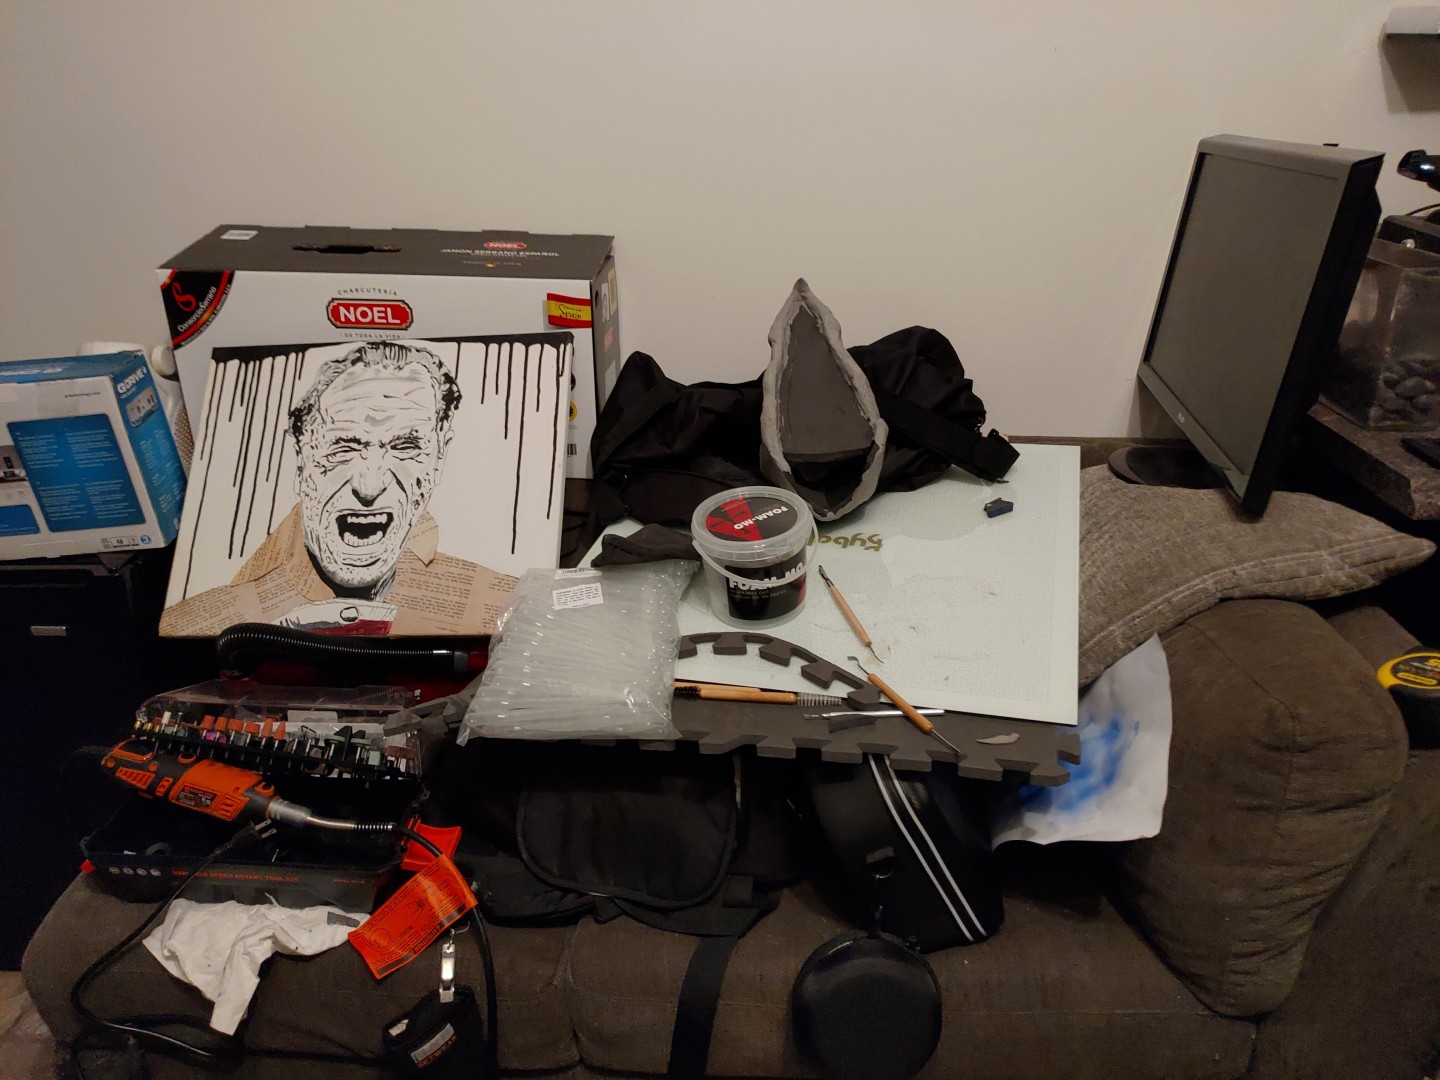
I was almost $200 down on supplies and ready to go but I decided that, after spending so much money, I should set myself for success. Up to this point, I had been working off a panel of glass I had laying over an old couch I had in my office, but if I was to create a foolproof environment I needed something new. Something better.
The Work bench
This step is completely unnecessary for the puppet, but as I had to go through it, I decided to document it.
I went into Sketchup and threw up a little concept of what I was planning to build. Some measurements changed once we went through the actual design stage
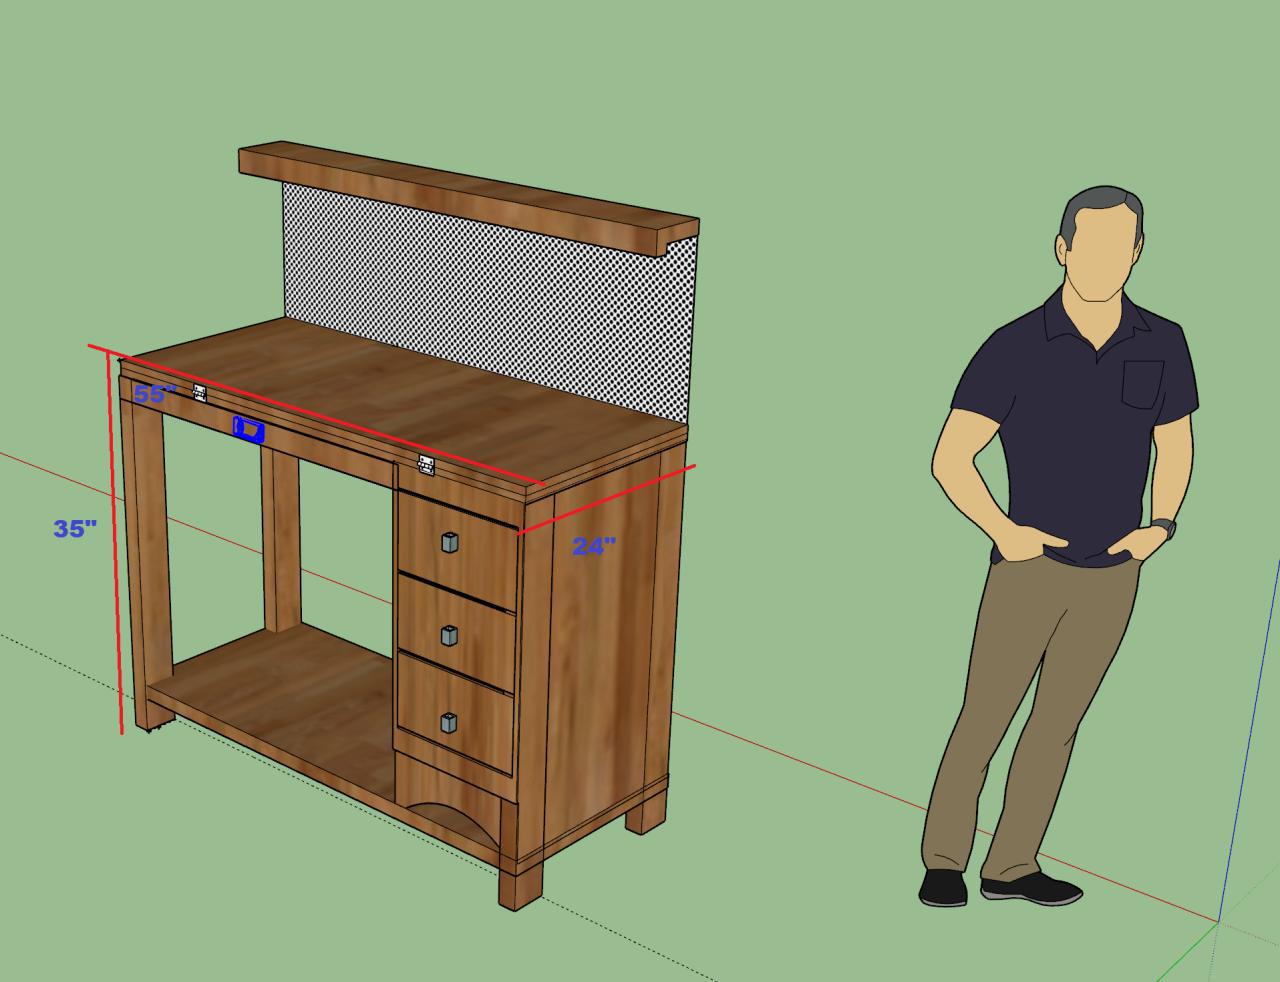
I took it to my father in law who is a professional master cabinet maker with a wicked workshop (which I borrow every now and then, but due to the sawdust, it was not the best place for the silicone mold). One look and he knew exactly how much wood we needed. We went to home depot, which according to him has the best quality wood in the area and spent another $100 in plywood, 2 by 4 and other woodcuts.
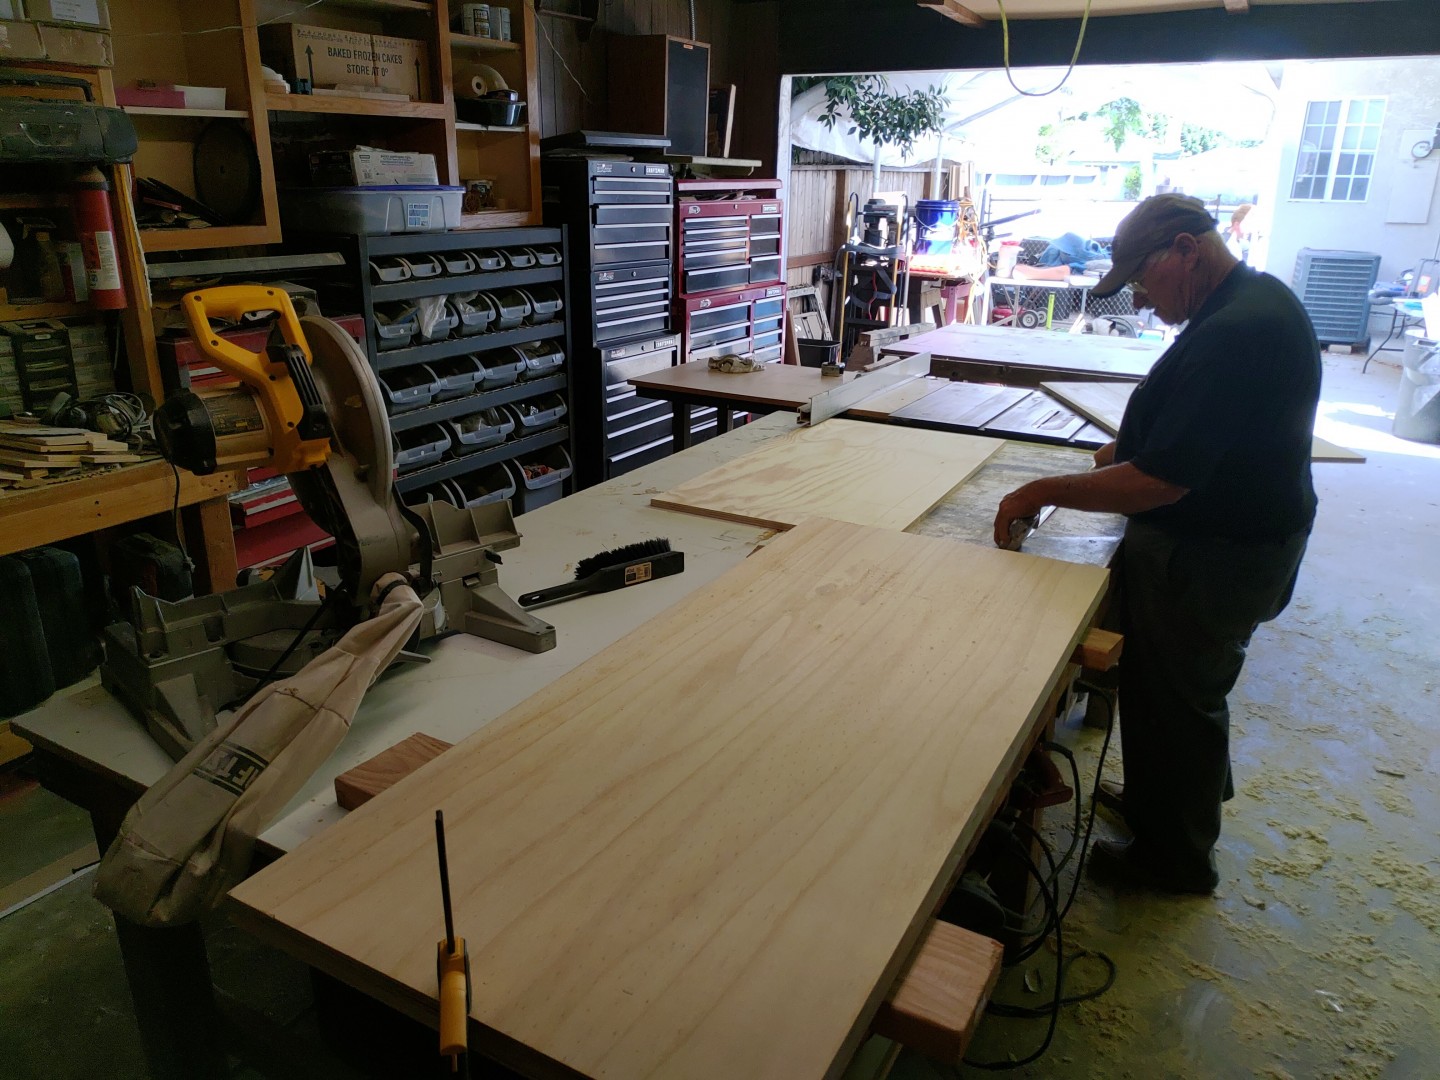
Under his guidance, we put it together in about 2h. He did most of the cutting because I was not looking to lose a finger over a puppet and because he uses those tools like he's making a sandwich, no biggie.
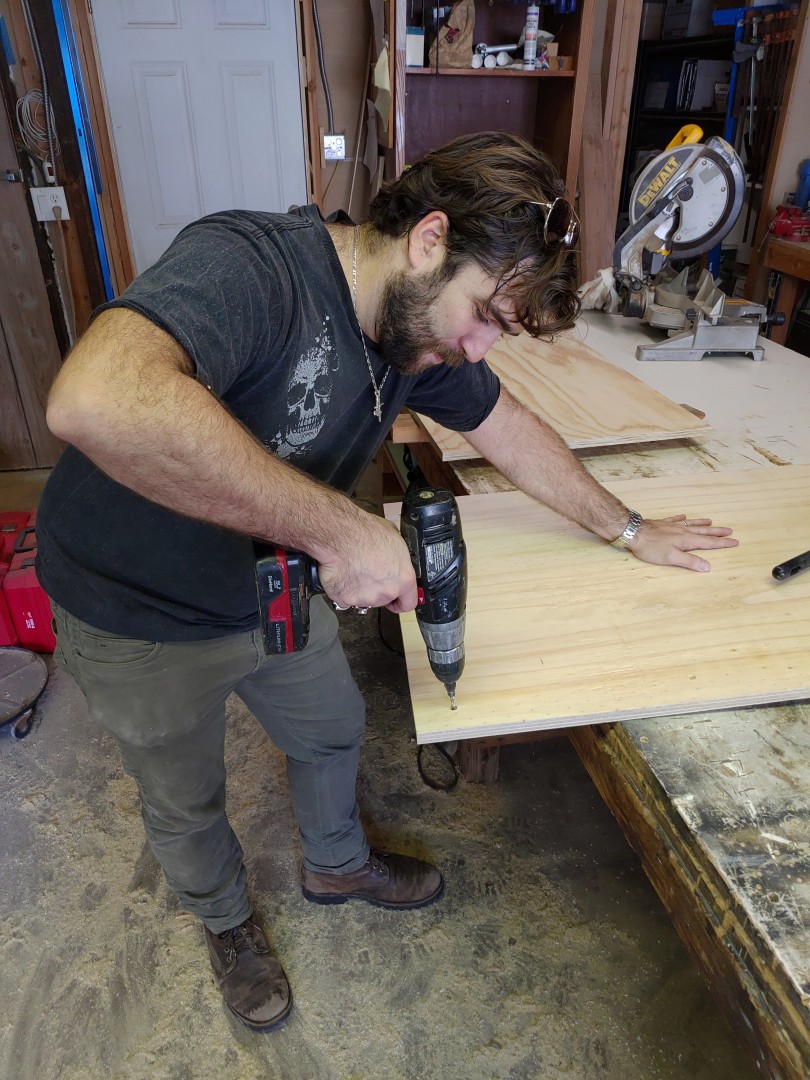
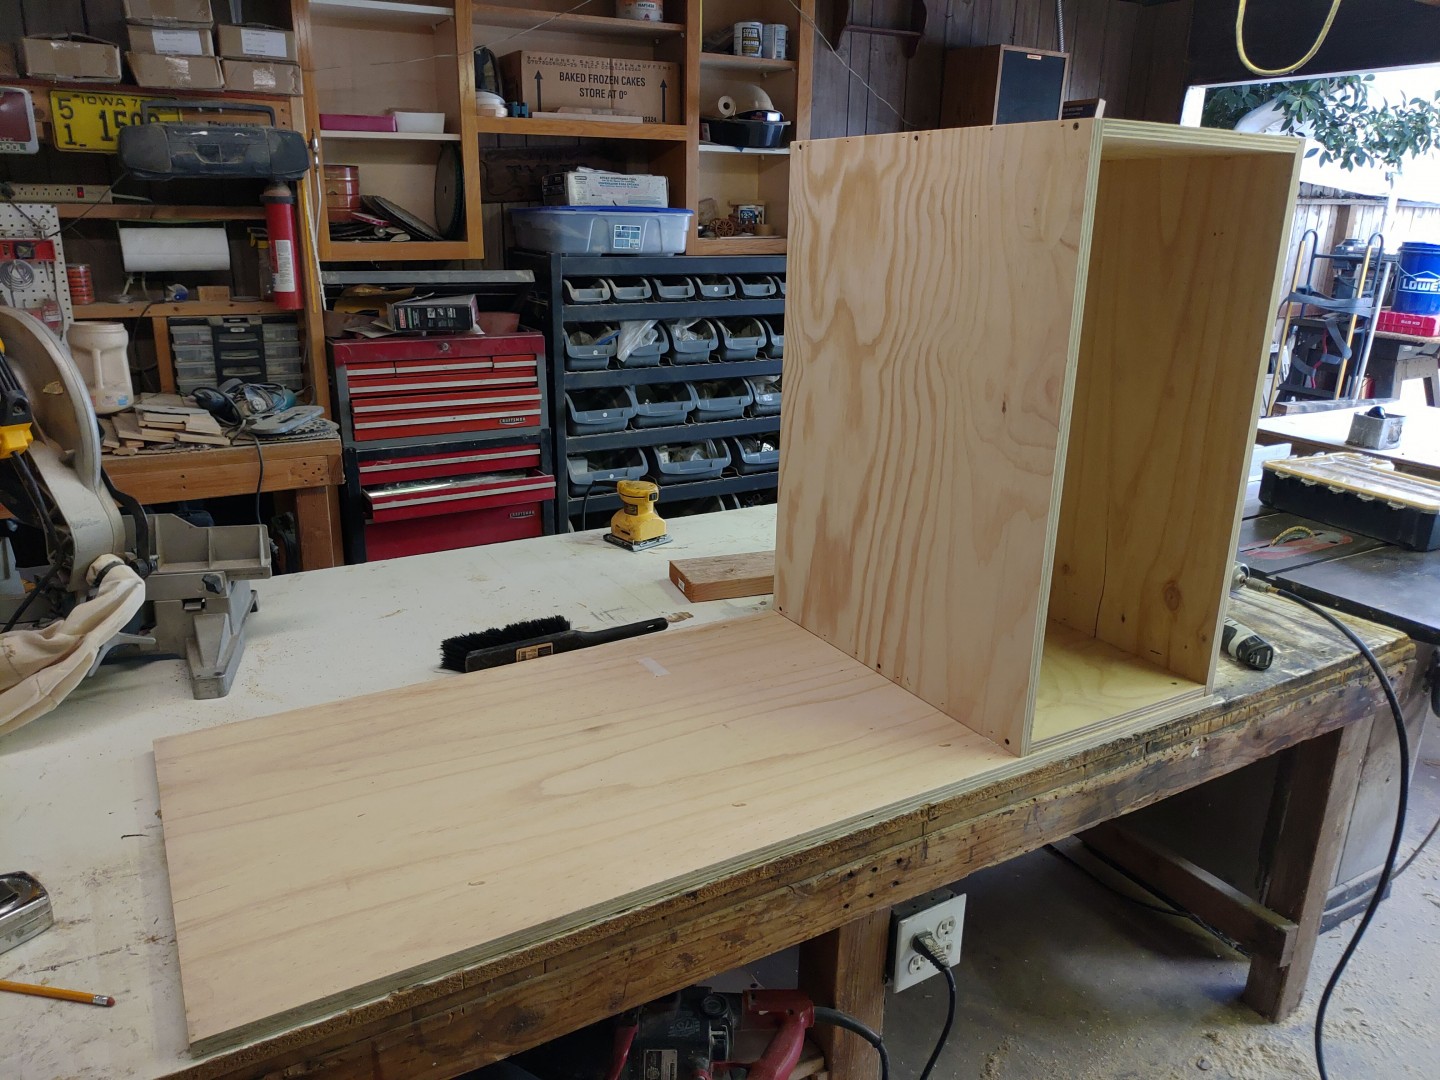
We left the drawers, the pegboard and the light for when I finish the project as I wanted to work on the mold that same night and he's a busy contractor.
And with all this done, I was ready to work in an environment that would tip the odds of success in my favor.
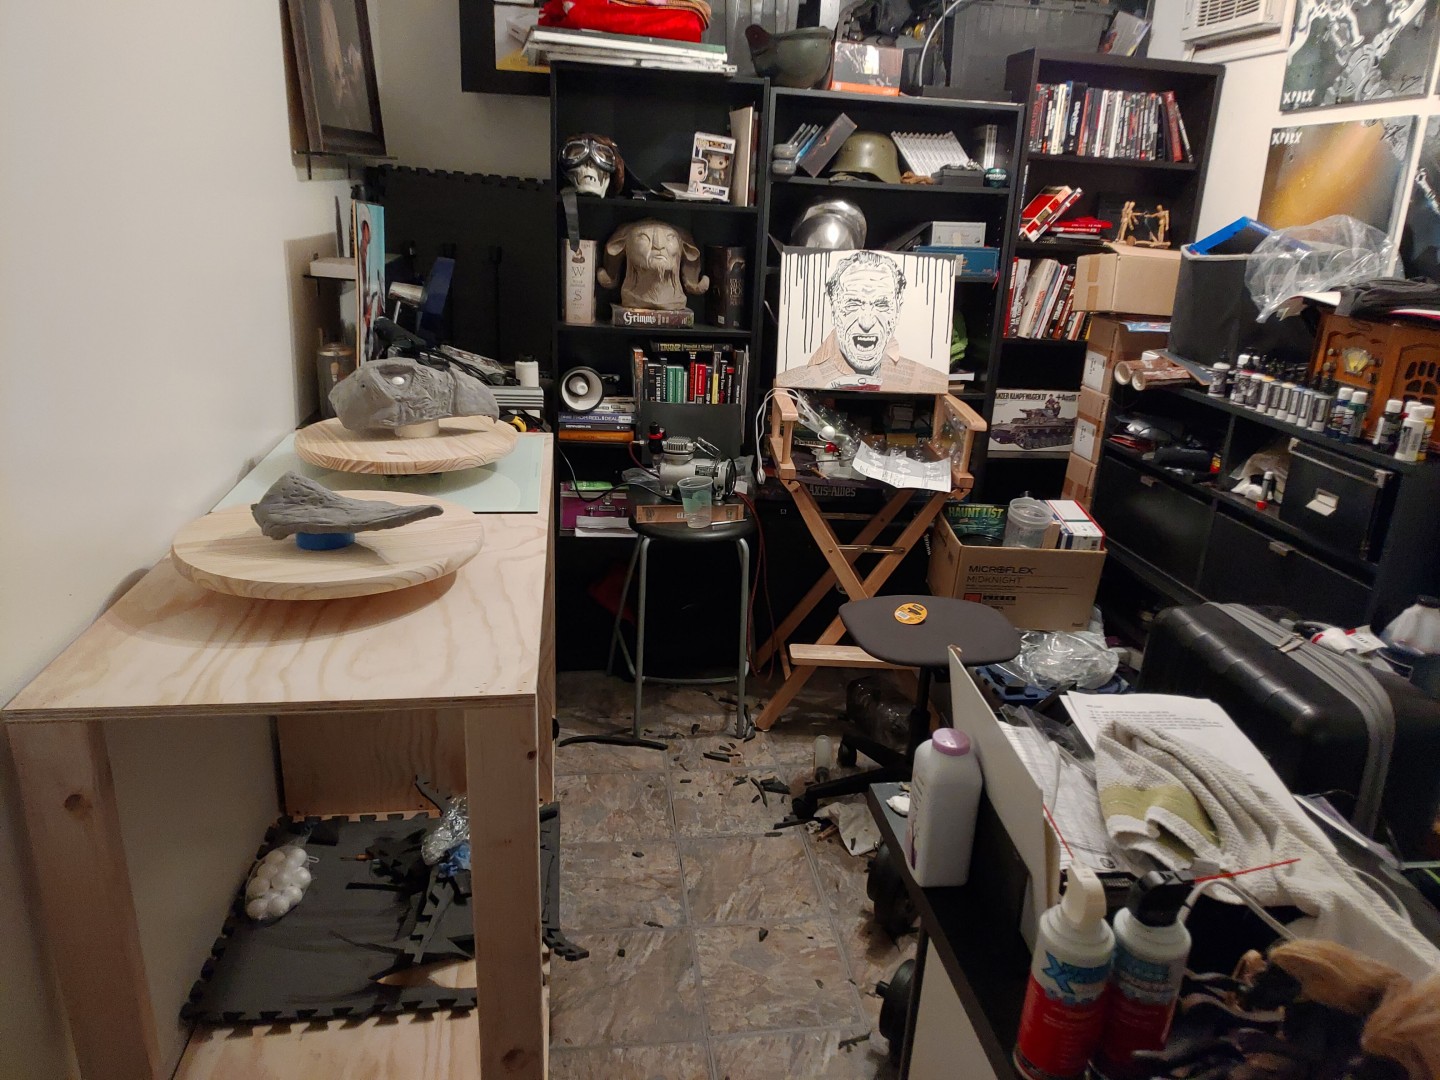
Still messy, but much more comfortable.
The Mold
With everything ready to go it was time to apply what is called a brush-on mold. I was too worried about messing up so I have no photos of the process.
In a few words, you mix the silicone according to the ratios in the instructions, making sure you stir it well and consistently. Grab a brush, apply it. blow air on the surface to avoid bubbles. Wait about 40 min for it to cure, apply a thicker layer, rinse and repeat until you get a thickness of about an inch. Also, when pouring your last layers, it's a good idea to put some cheesecloth around the area you estimate your cut to open the mold will end. This prevents the silicone from ripping past that point, preserving the mold's integrity. Then add some registration points for your mother mold to sit snug and that's about it.
I know I've sold it as this daunting and complex process and it's just because it's harder than it seems mainly because any little mistake is an expensive one.
And because I'm definitely no expert, I'll drop a couple of very good videos I watched that really helped me through the process.
Notice the wood supports to keep the sculptures upright. I prepared them by closing gaps (including building a mouth roof) and trying to keep it even so the opening of the mold was clean.
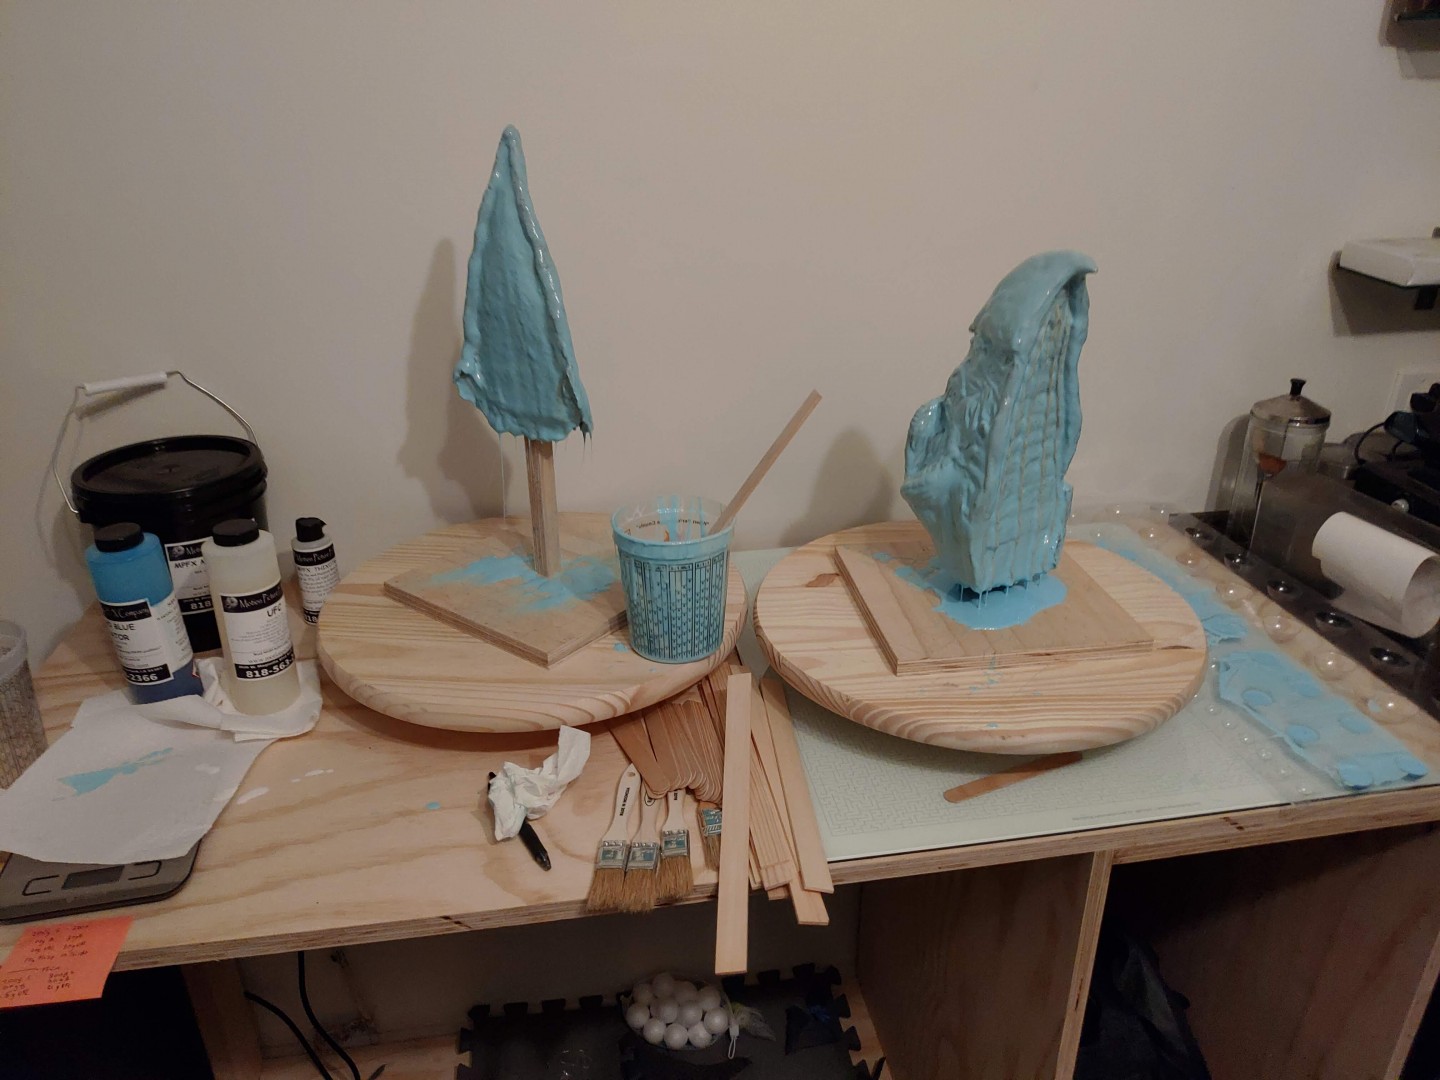
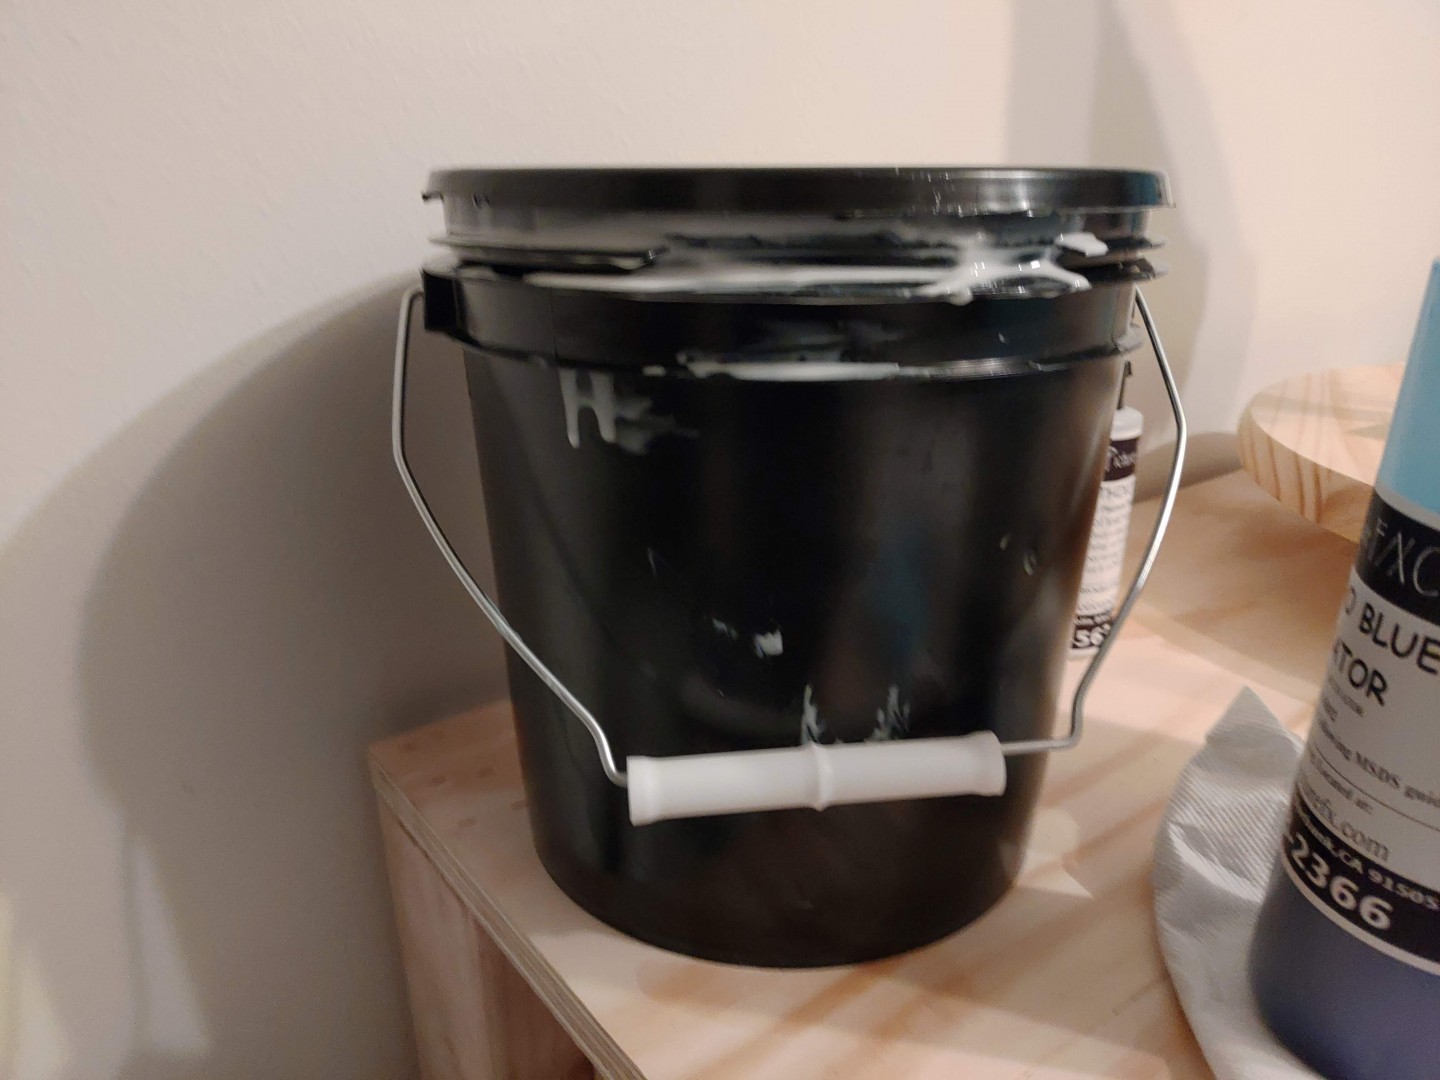
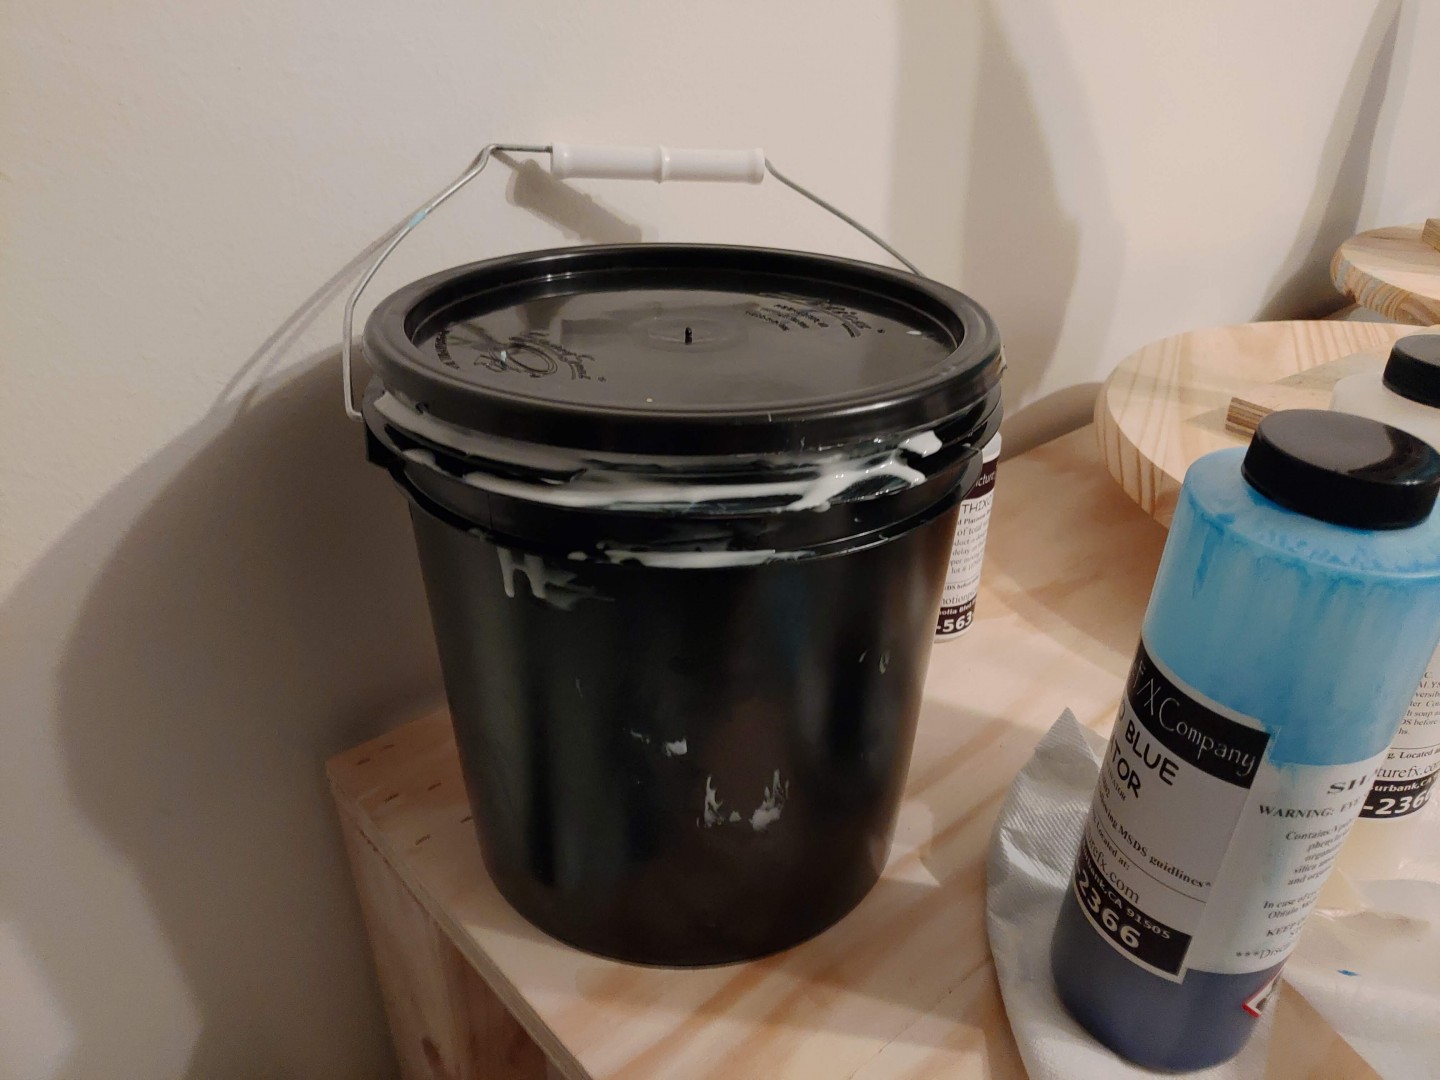
A little word of advice here, make sure the handle of your silicone base bucket is left either up or on the opposite side to where you pour to avoid making it a gooey mess.
Use the leftovers to make registrations on any kind of mold. It doesn't have to be round, you can pour them on an old discarded ice tray or even make a clay mold that you will be able to reuse. You don't want to waste any at the bottom of the bucket or dripping from the sculpture. Those puddles on mine are probably worth $8 of silicone. I did both parts at once to try to waste as little as possible. If I poured too much for one batch, I brushed the leftovers on the other one.
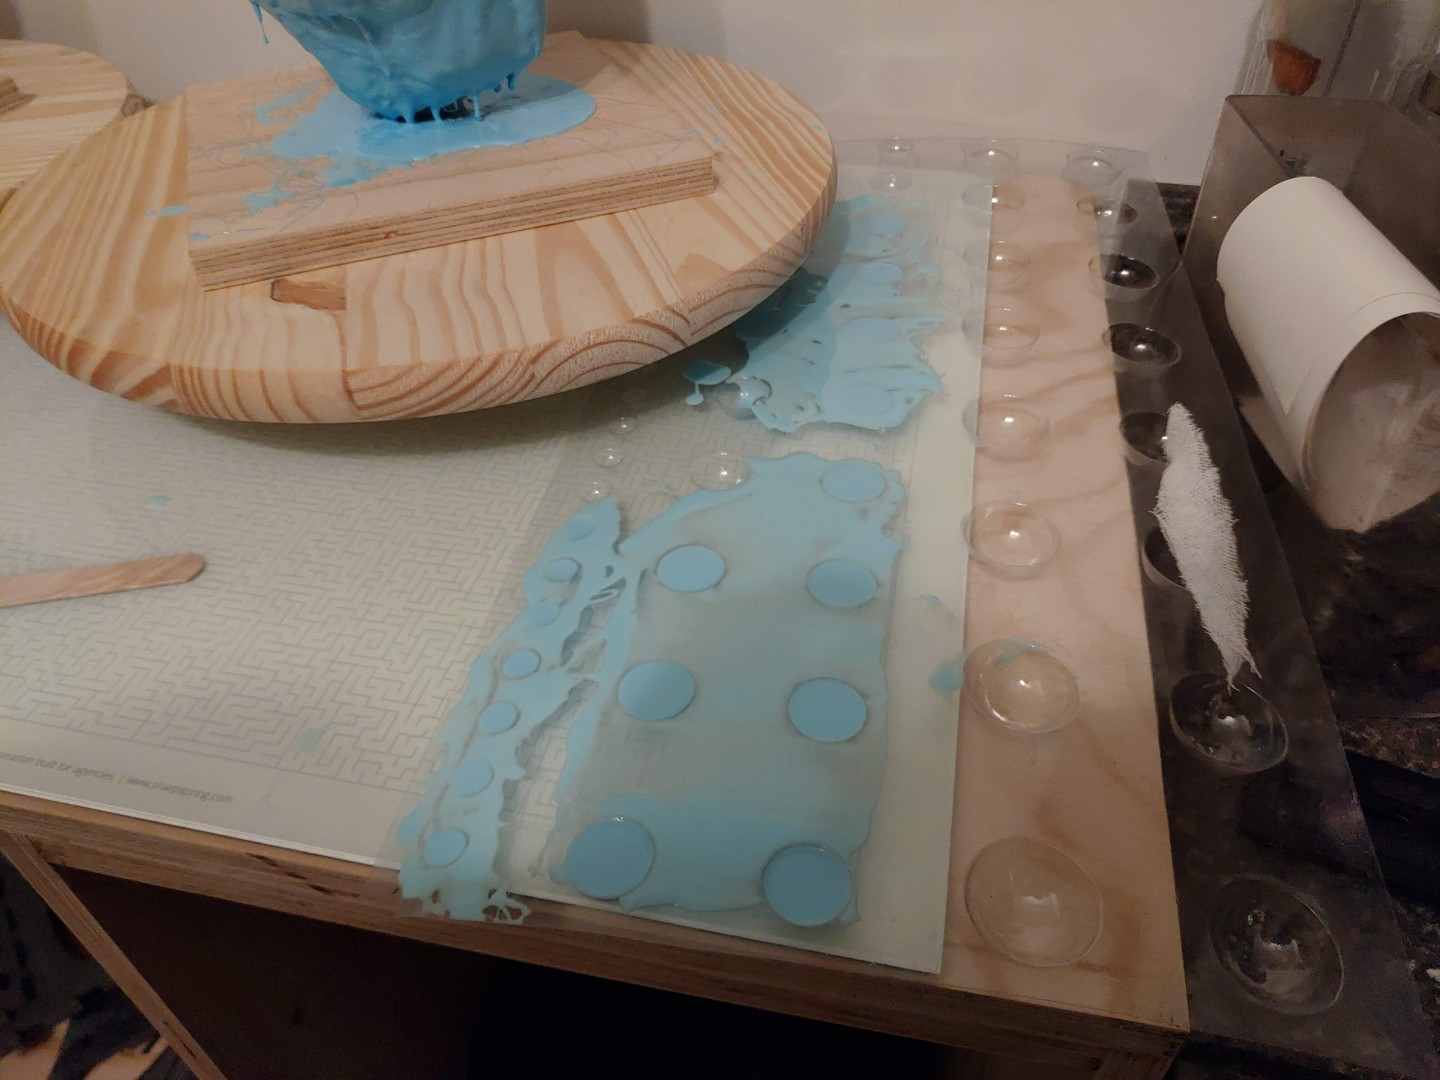
Registration points and cheesecloth.
The next step is making the mother mold with the plaster bandages. Dip them in clean lukewarm water and apply them on top. First one half, then the other. Before laying the second half, make sure you apply some kind of release, vaseline works or cooking spray if you don't have anything handy. I used cooking spray and while it worked, it was not easy to pry open.
Once they dry, use some metal tools (a putty knife works great as it's flexible) and take the silicone out.
Next, you want to cut open the silicone mold, preferably in an area that is not visible (I chose the roof of the mouth and the section under the tongue). For this cut, you want a zig-zag motion so the shape of the cut works as registration for your silicone. This will help to realign your seam and make it less noticeable.


